Your first hour
An eight step checklist that takes a brand new account to its first real order.
Work top to bottom; each step assumes the one before it. This picks up where Creating your account left off.
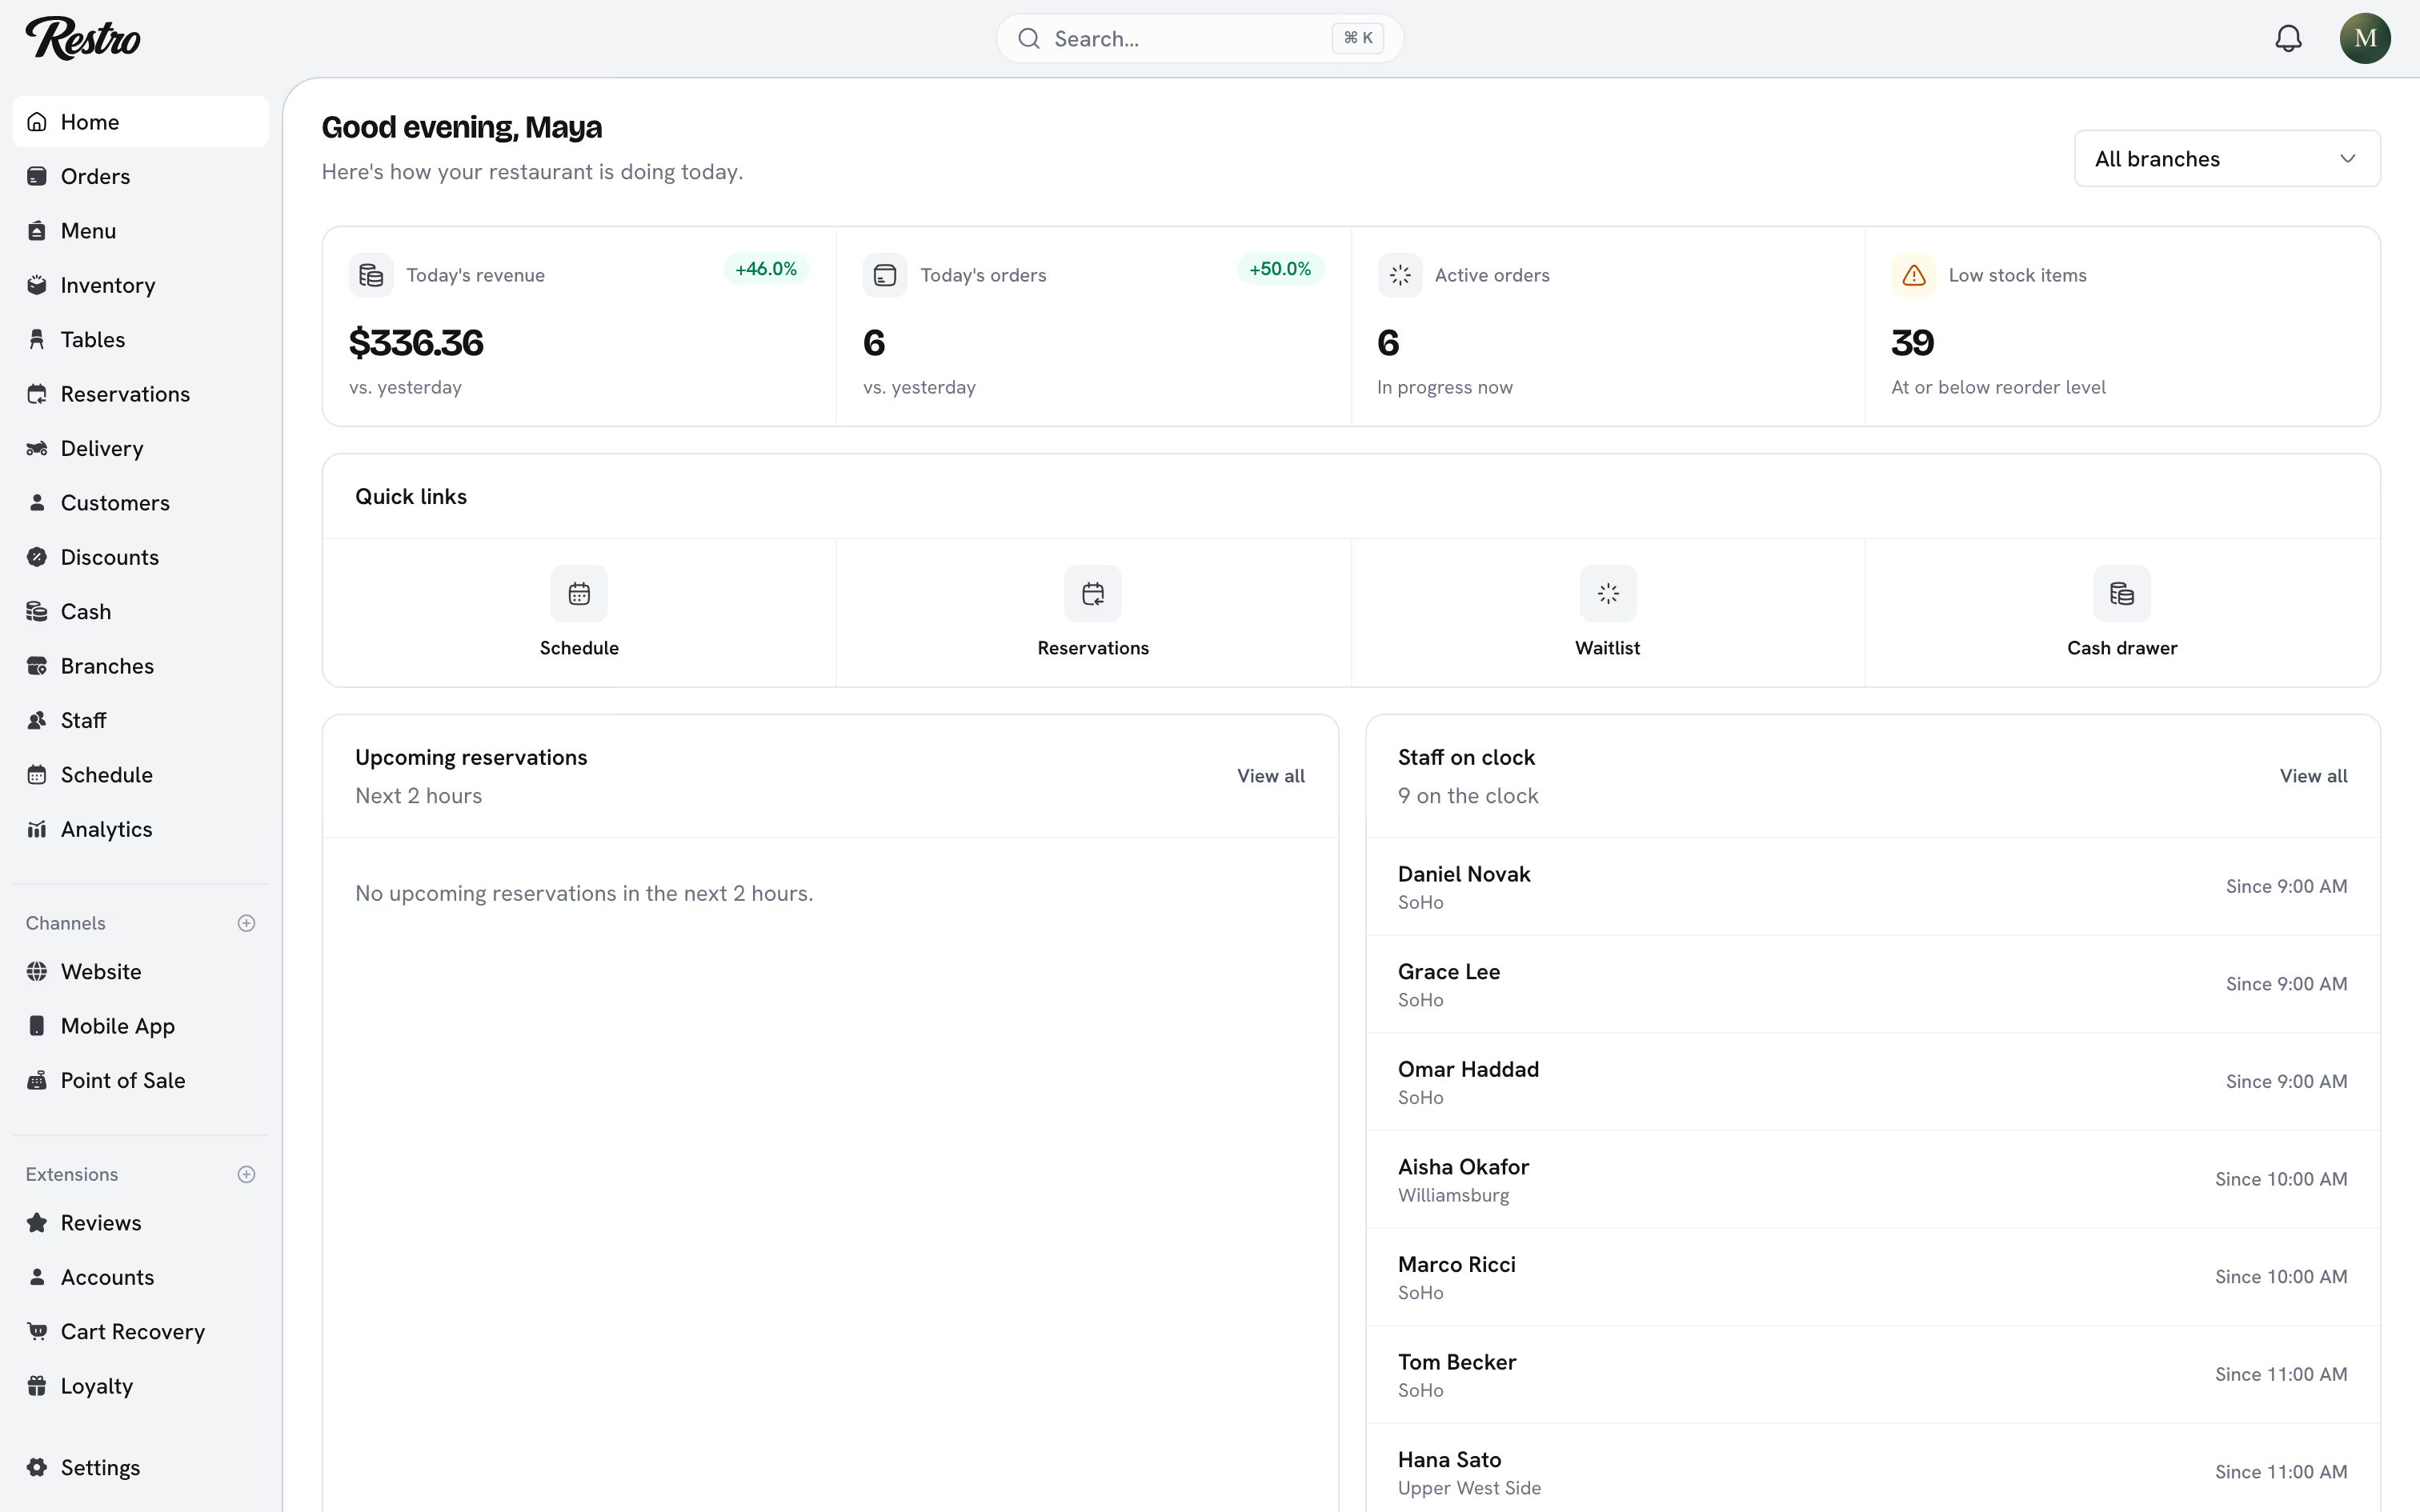
#1. Finish the restaurant details
Settings → General. Setup already took your restaurant name. Add a contact email and phone, and upload your logo if you skipped it. Set the order number format here too: a prefix and suffix wrap the running number, so a prefix of # gives you #1000. See General settings.
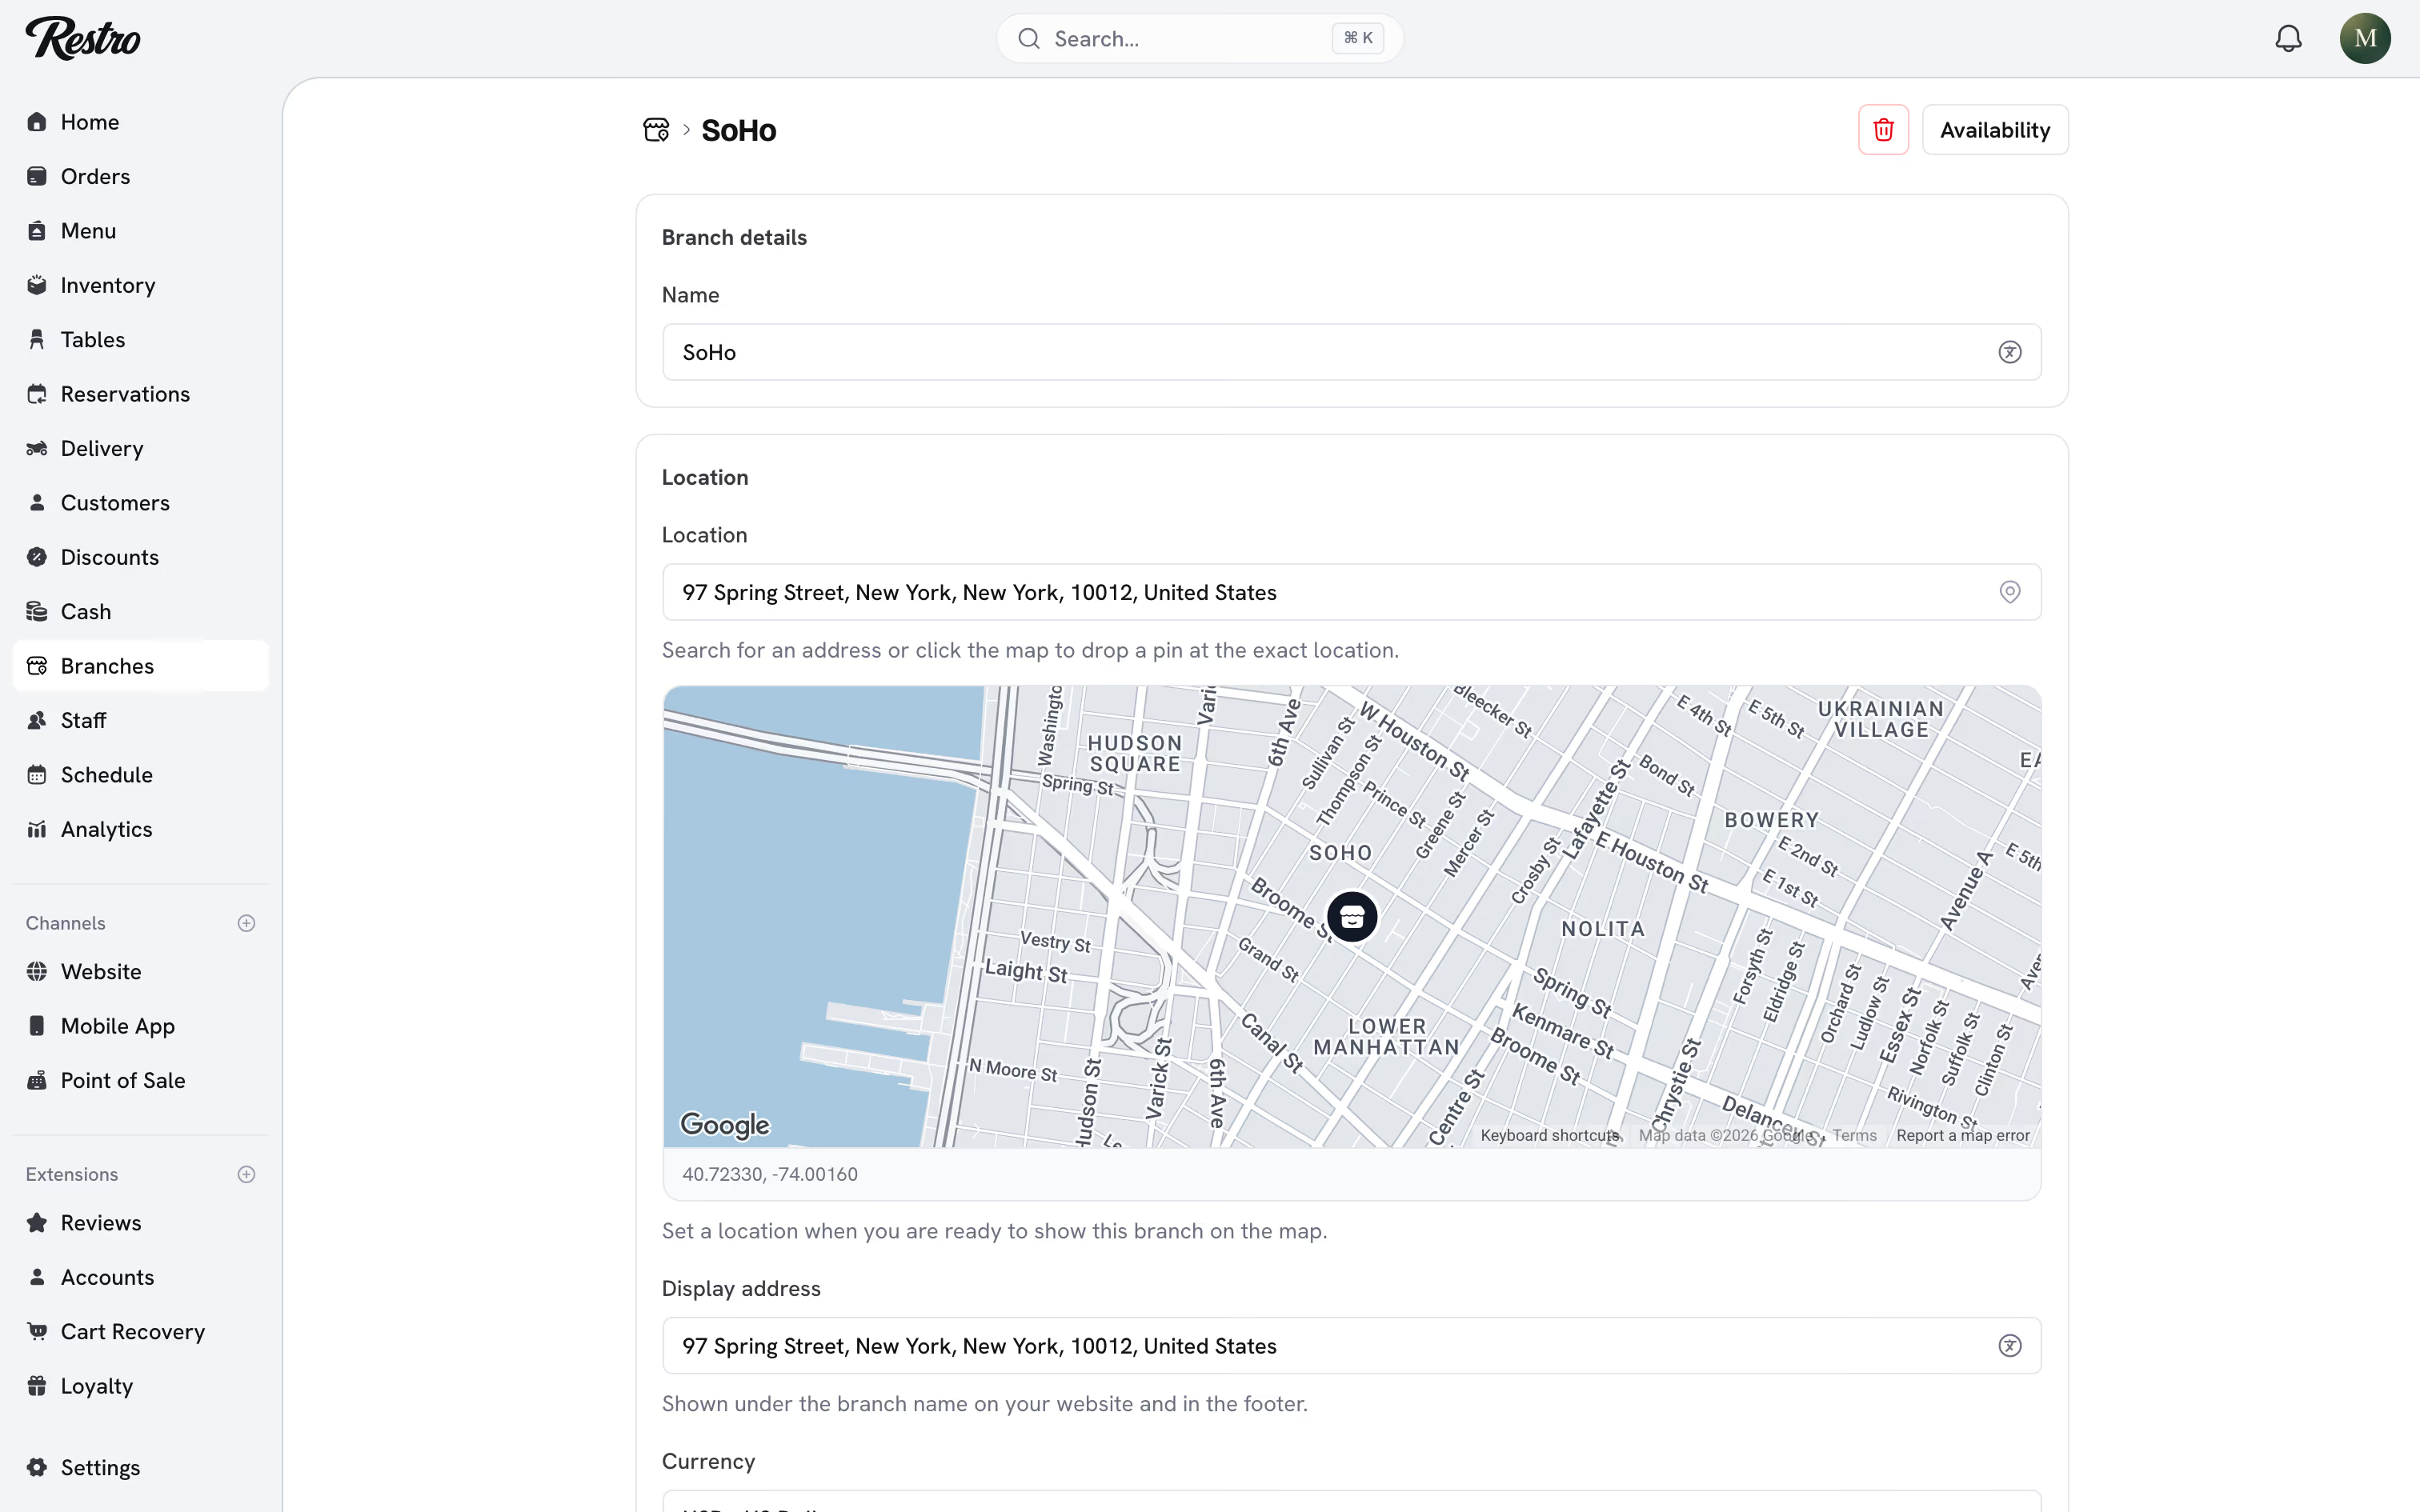
#2. Set up the branch and its hours
Branches → the branch. If you pinned a branch during setup it is already listed; otherwise use Add branch. Check the address, timezone, and currency, then add opening hours. Outside those hours customers see you as closed rather than placing an order nobody will cook. See Branches.
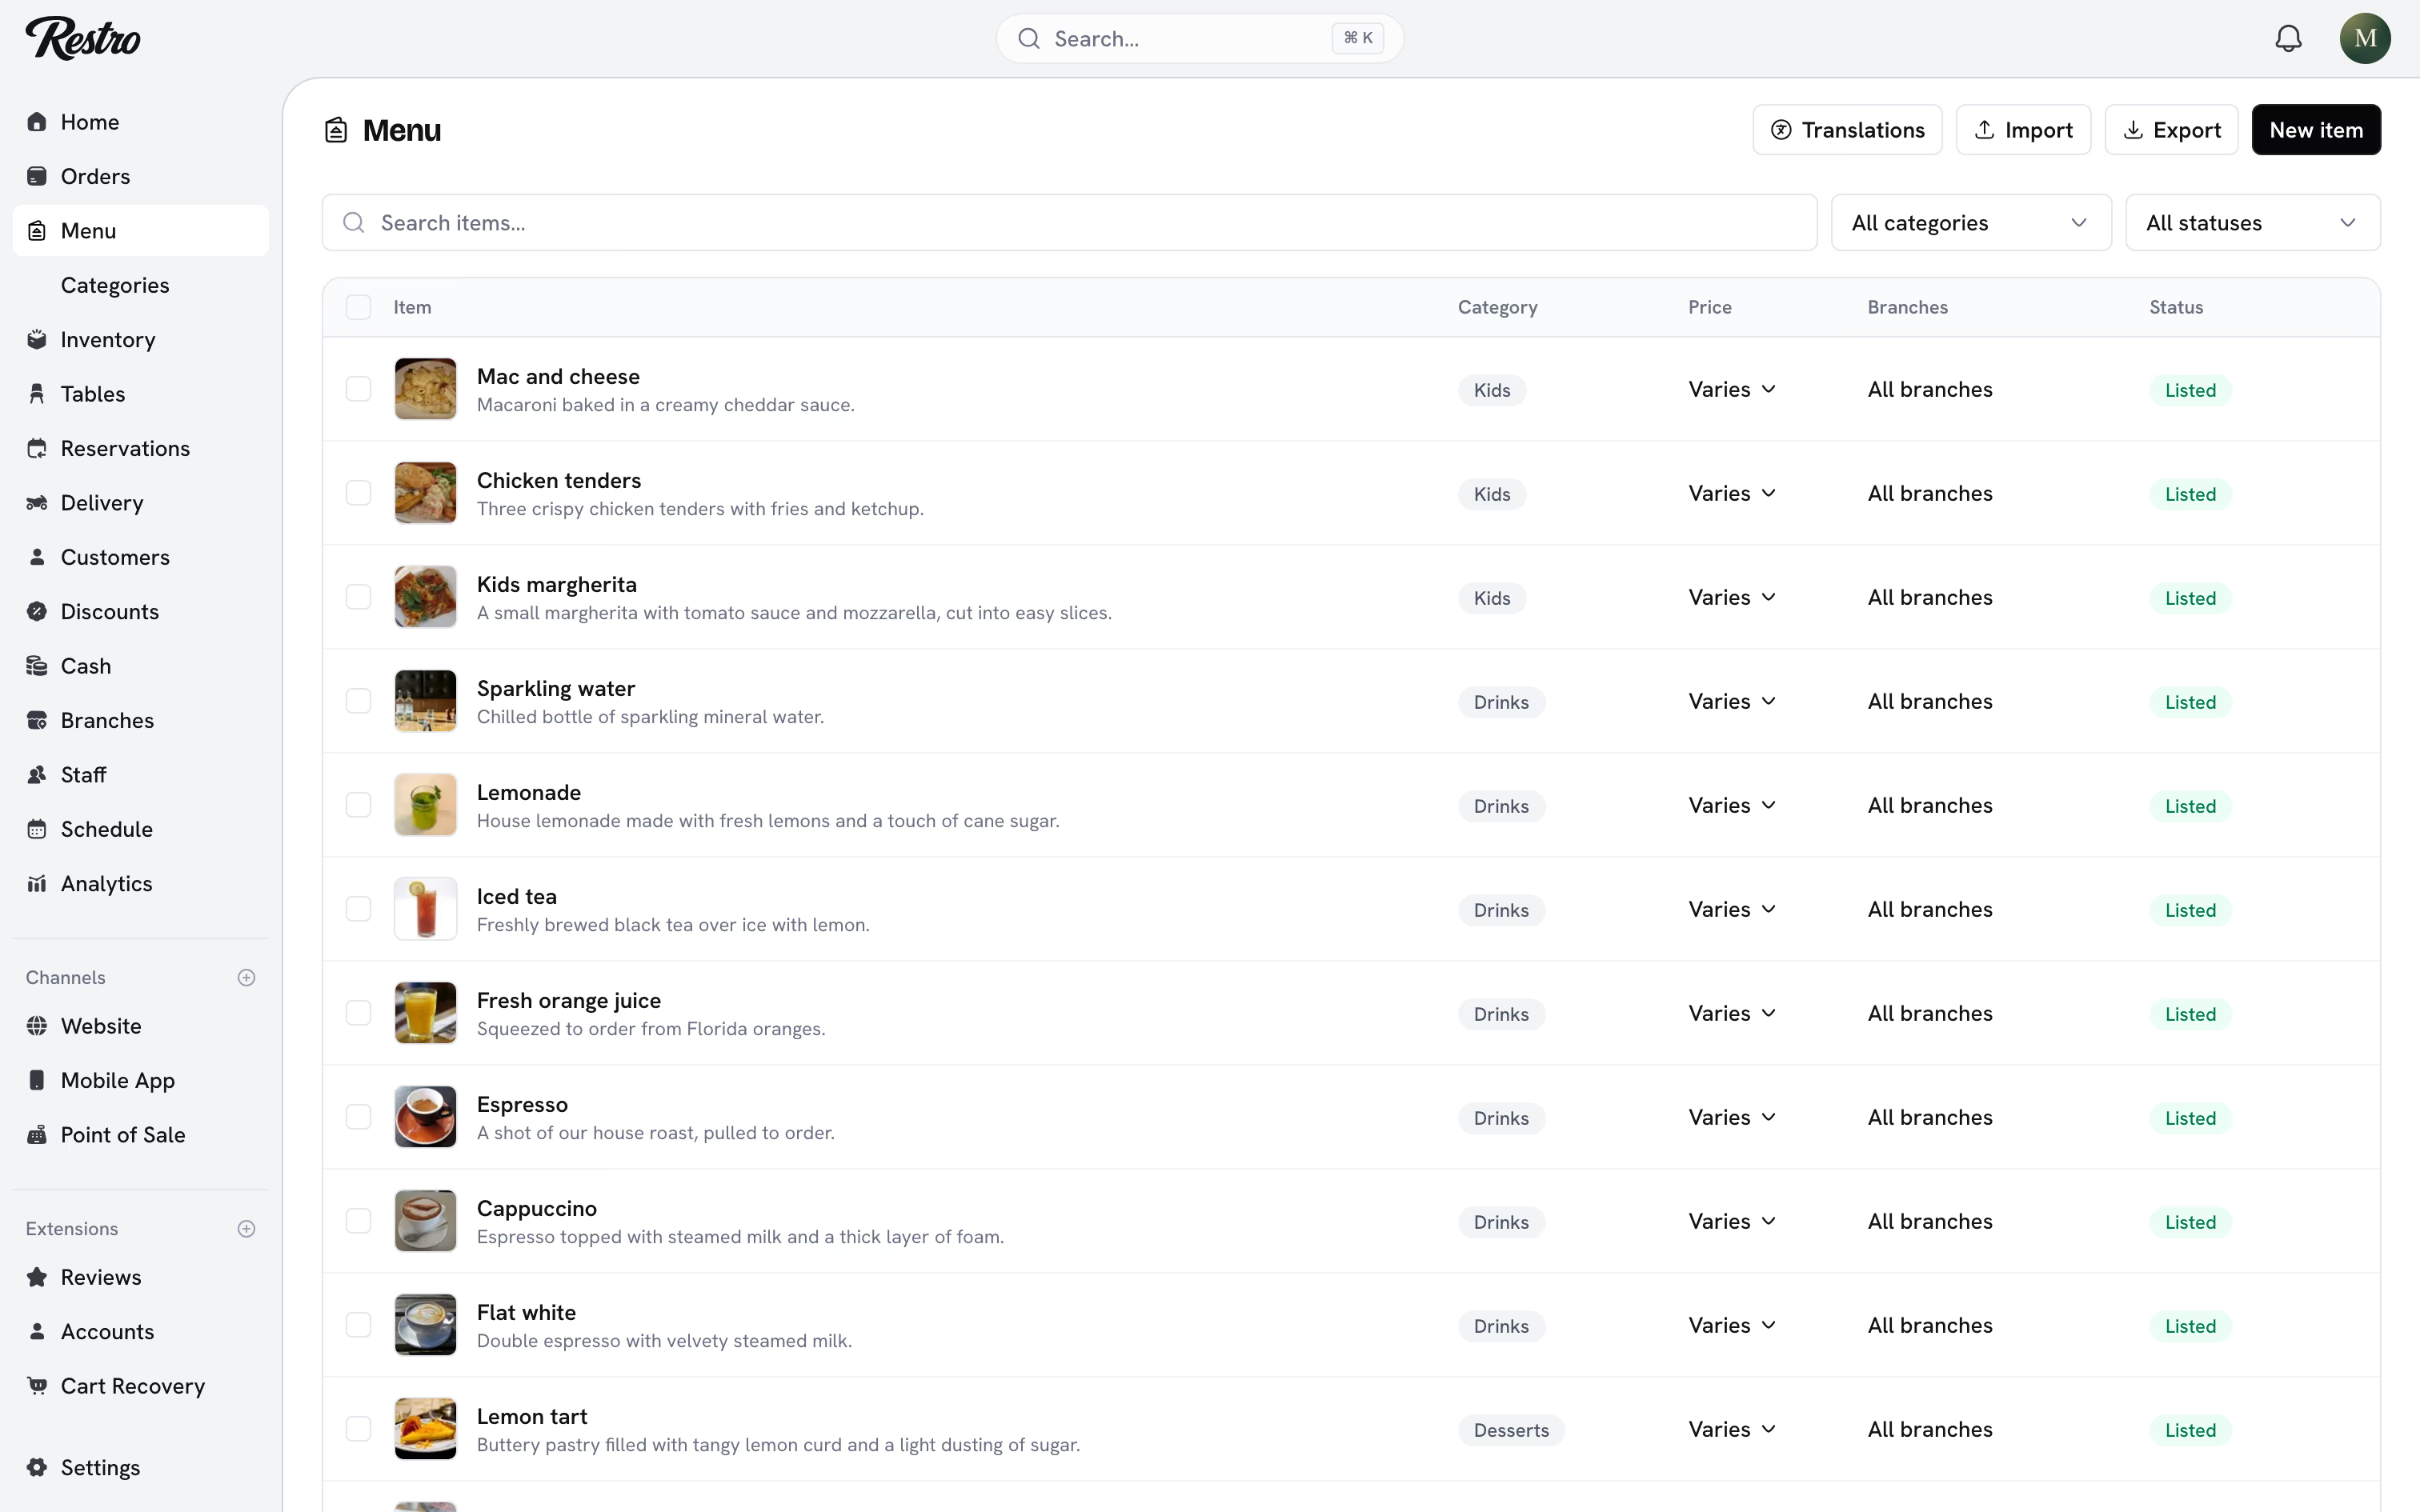
#3. Build the menu
Menu → Categories, then Menu. Create categories the way a diner browses (Breakfast, Pizzas, Drinks), then add items with a price on every branch that sells them. If your menu already lives in a spreadsheet, use Import instead of typing it twice. See Building your menu.
#4. Turn on a channel
Channels → Add channel. Turn on the Website to get an ordering site at your subdomain straight away. Turn on the Point of Sale if you take orders at a counter. See Website, app and point of sale.
#5. Take payments
Settings → Payments. Cash and card on delivery work with no setup. For online payments, connect a provider and paste in the details from that provider's own dashboard. See Payments.
#6. Invite the team
Staff → Invite member. Pick a role and Restro grants the right access on its own. A cook gets the kitchen display and nothing else; a manager gets most of the dashboard. See Roles and permissions.
#7. Place a test order
Open your website, order something, and walk it through the kitchen display to Completed. Watch it land in Orders, move stock in Inventory, and appear in Analytics. See Order lifecycle.
#8. Tidy up
Orders. Open the test order and void it, or refund it if you paid online, so it stays out of your numbers. Voiding returns its ingredients to stock. Then check Settings → Notifications to decide who is told about new orders and cancellations.
Did this page miss something? Tell us.
Back to top