Building your menu
Set up categories and items, price them per branch, add customizations, and import a menu you already have.
Your menu lives under Menu and Categories in the sidebar. Everything you build there is served to your website, your app, and the point of sale at once.
#Categories
Menu → Categories. Categories are how customers browse, so name them the way a diner thinks: Breakfast, Pizzas, Desserts, Drinks.
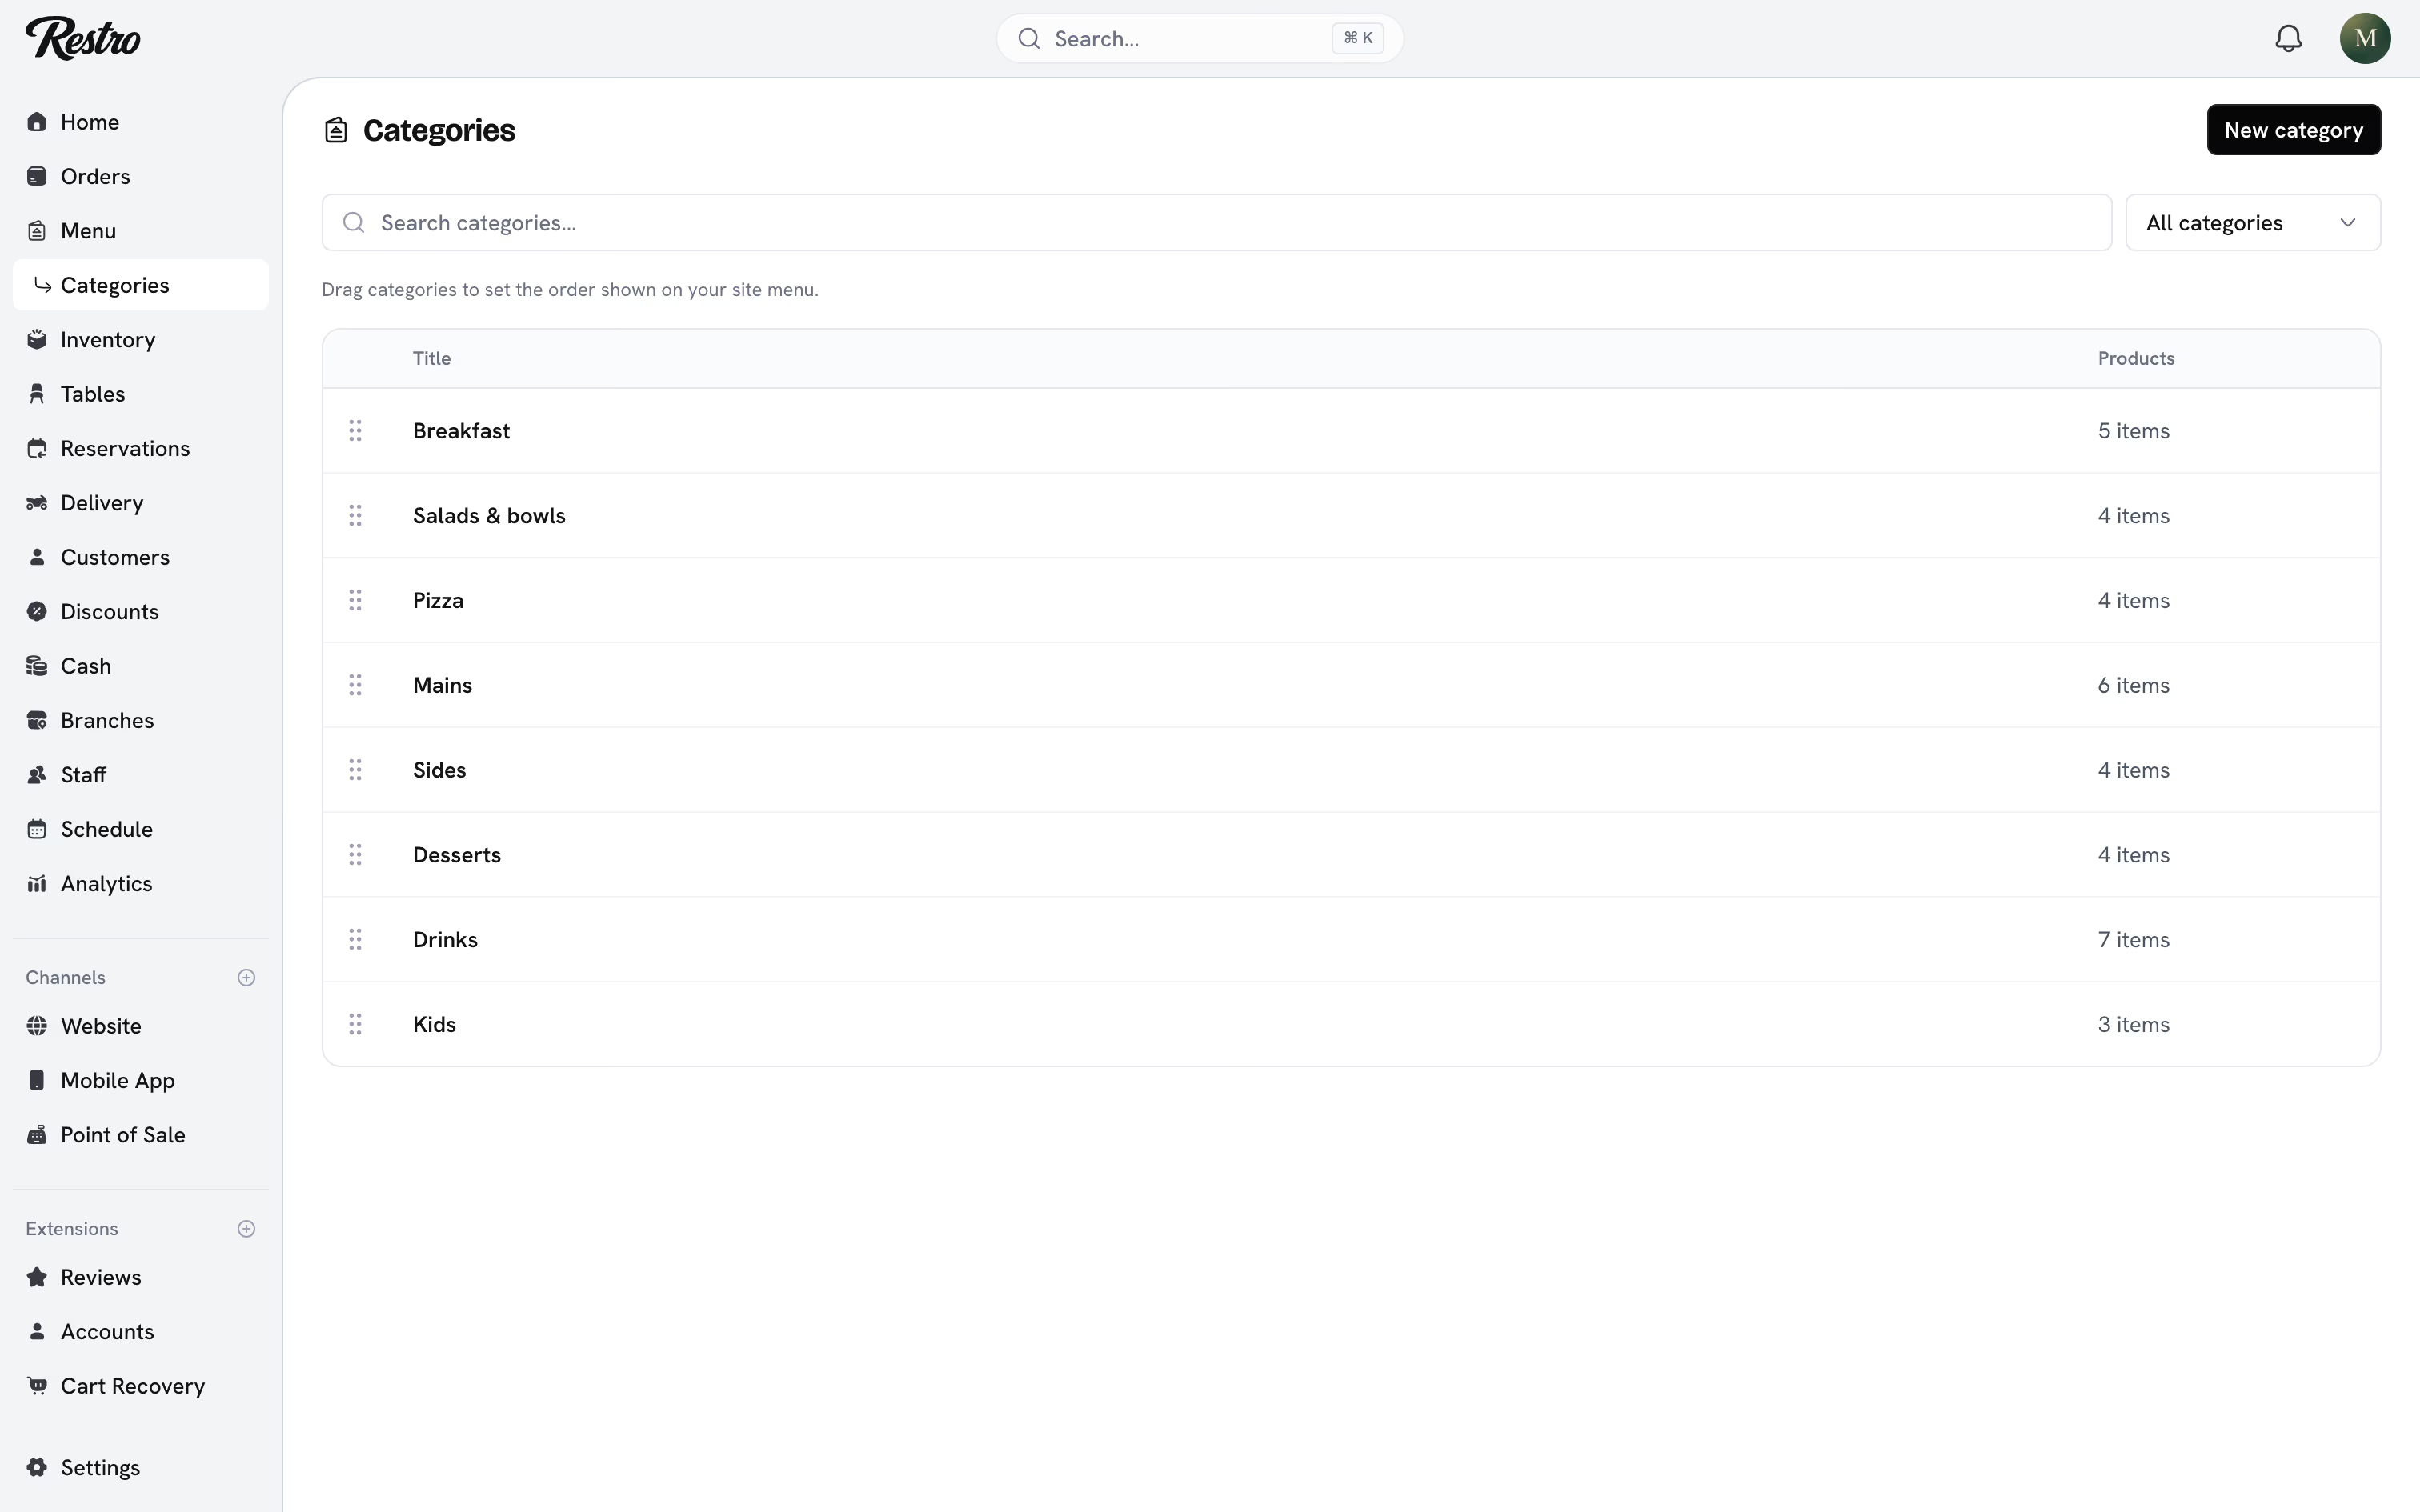
Each category has three settings:
- Sort order: its position on your website and in the app.
- Item sort: how items inside it are ordered. Manual keeps the order you drag them into. Best selling ranks by quantity sold over the last 30 days. Highest price and Lowest price use the price at the customer's branch. Newest and Oldest use the date the item was added.
- Availability schedule: optional time windows per day. A Breakfast category set to 7:00 to 11:30 is simply not there at dinner.
#Dynamic categories
Products source decides who picks a category's items. Manual is the default: you choose and order them. The other two fill the category for you, per branch:
- Best sellers: the items that sold most at that branch over the last 30 days. Items with no sales in that window do not qualify.
- Offers: items with a compare-at price, or covered by an active automatic discount aimed at specific items or categories. Storewide discounts do not count.
Set Products to show (1 to 24, 8 by default). Items stay in their real category and appear in the dynamic one as well. A dynamic category hides itself at a branch where nothing qualifies, and it cannot be picked as a discount or printer target.
#Items
Menu → Add item. An item needs a title and a price on at least one branch. The rest is optional, but most of it earns its keep.
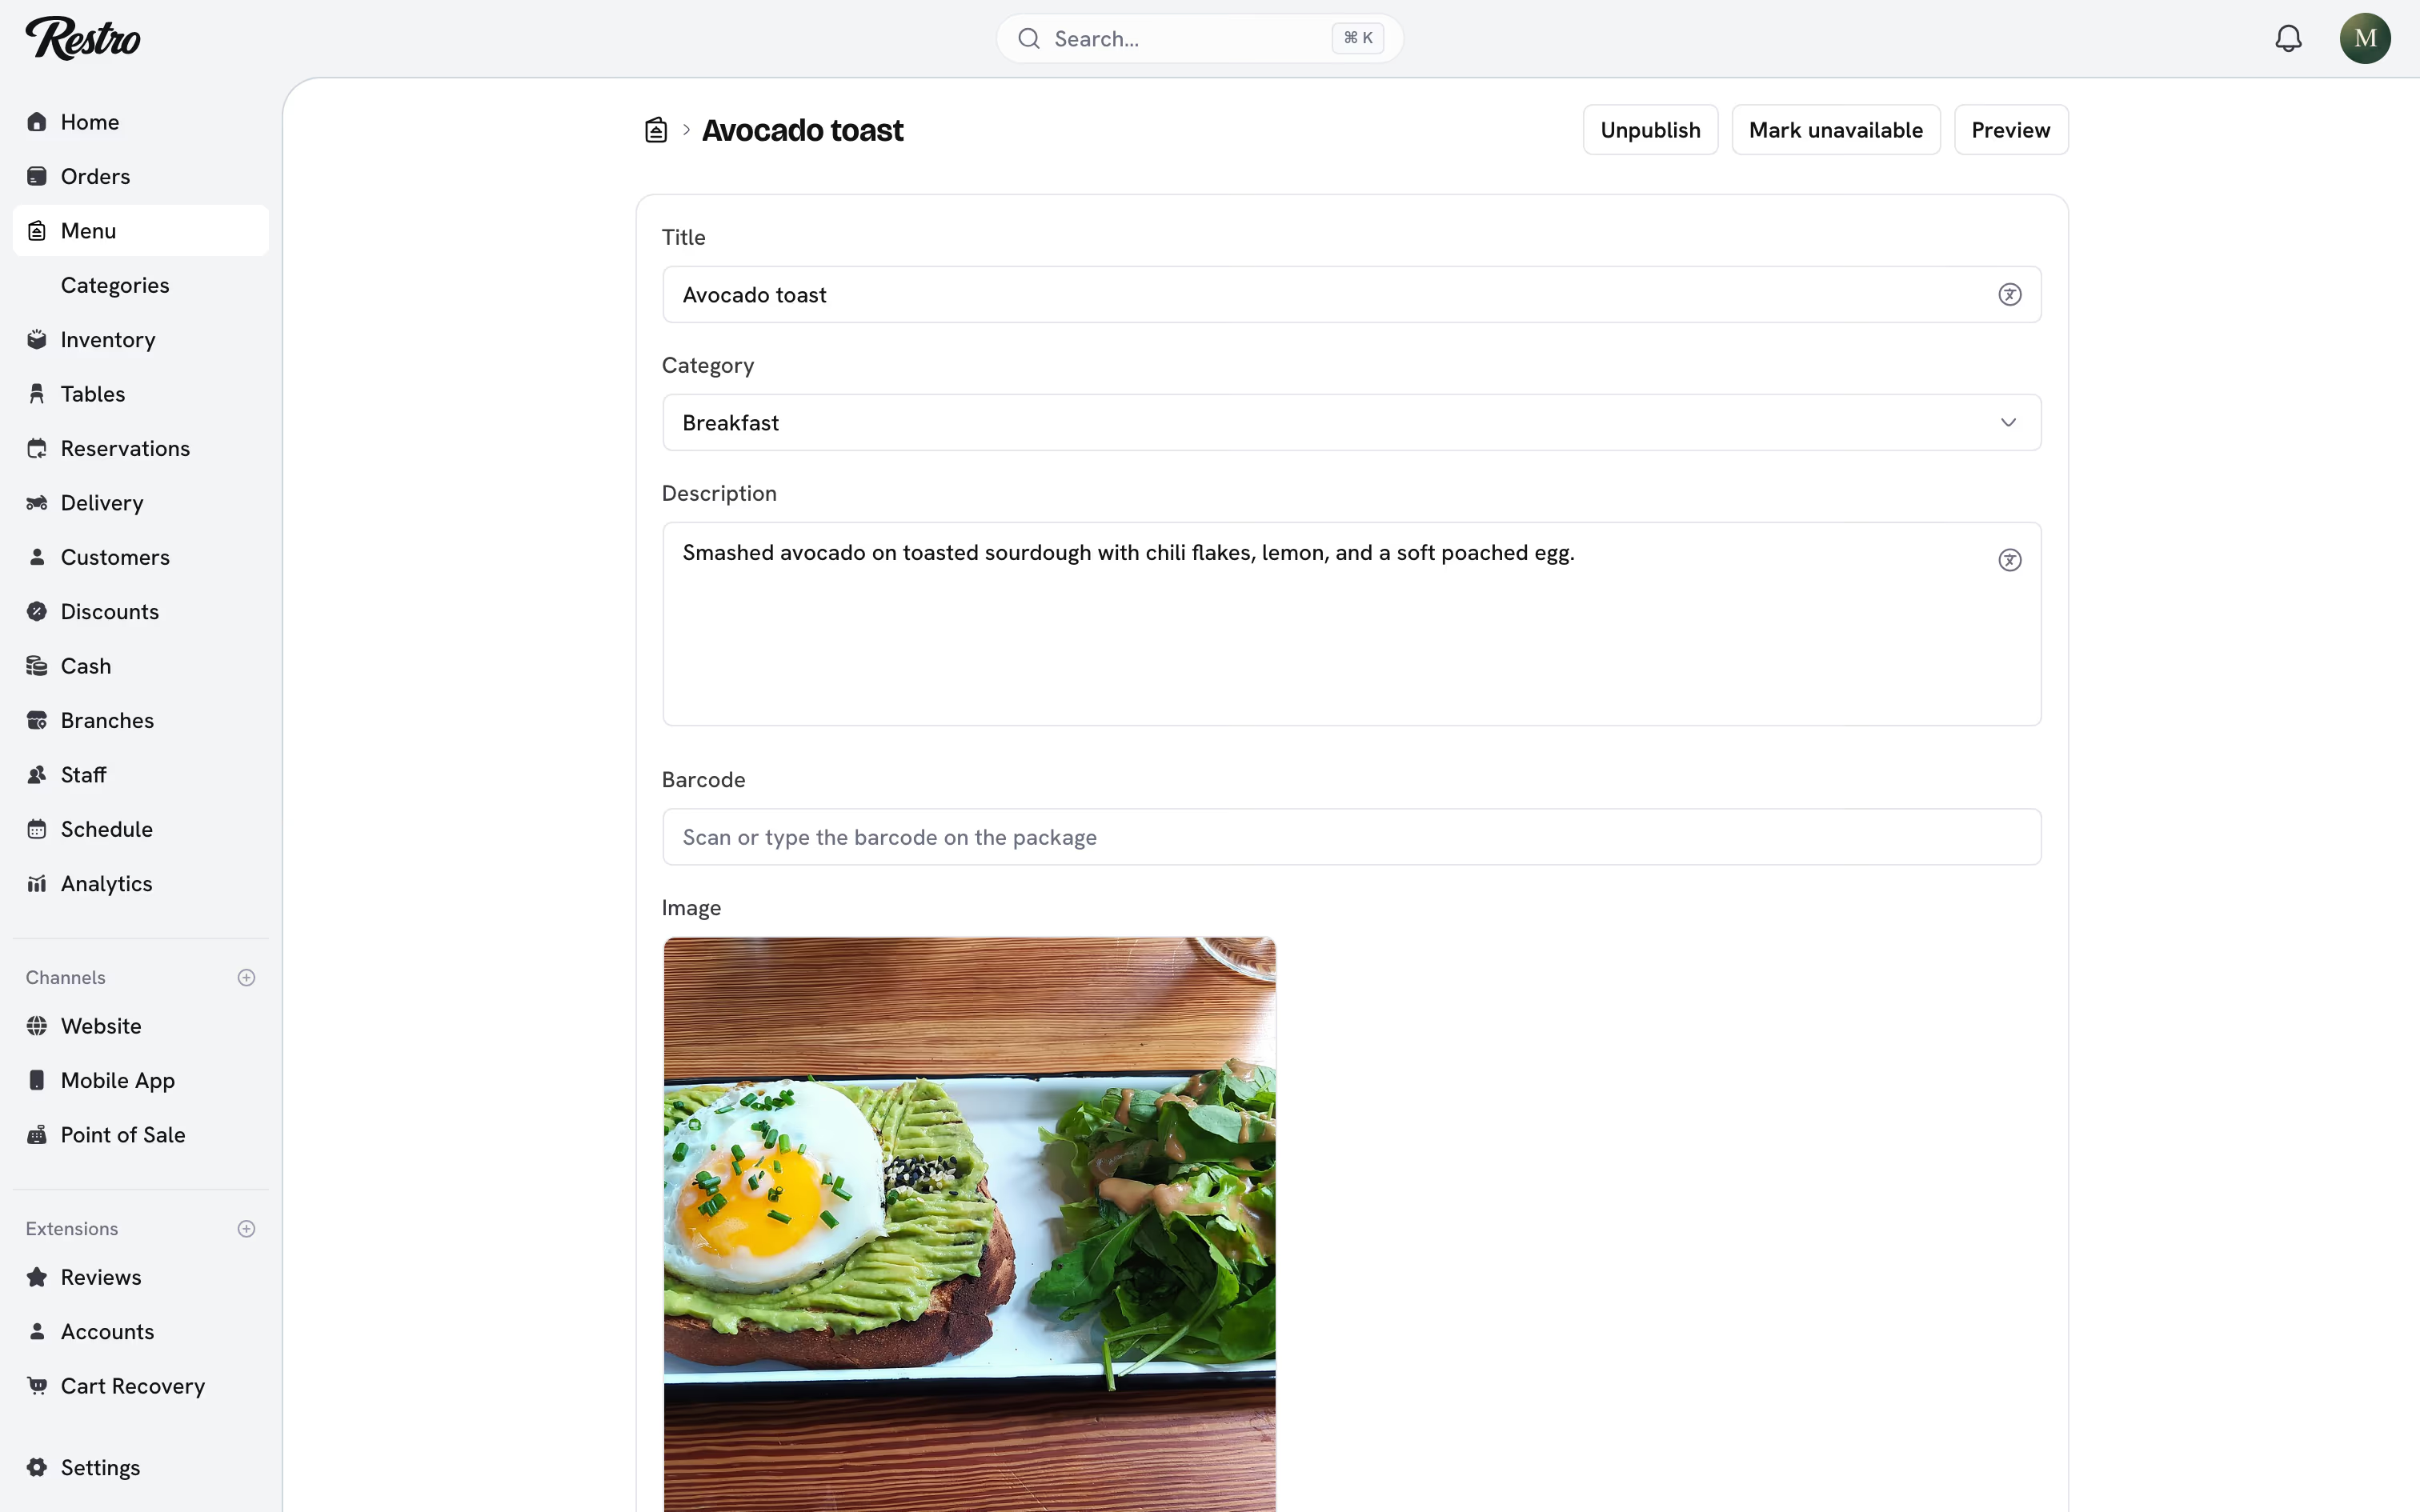
- Description: shown when a customer opens the item.
- Image: the single biggest lever on sales. Use one.
- Labels: dietary and descriptive tags such as Vegan, Spicy, or New.
- Nutrition facts: shown to customers where you provide them.
- Special requests: lets customers type a note on this item. Turn it off for anything the kitchen cannot vary.
- Barcode: the code on a packaged item. Scanning it at the till adds the item to the order. See Terminal hardware.
#Pricing per branch
Prices are set per branch. The Margherita pizza can be $16.00 in SoHo and $15.00 in Williamsburg, and each branch carries its own sales tax rate.
The Listed switch on a branch price controls whether that branch sells the item at all. Unlisting keeps a seasonal dish off one branch's menu without deleting it everywhere.
If every branch charges the same, use Apply to all branches and Restro fills them in for you.
#Compare-at prices
Next to each branch price, and each customization option price, there is an optional Compare-at price. Set it higher than the price and customers see it struck through, with a "Save X%" tag on menu cards, the item page, cart lines, and point of sale tiles. A compare-at price at or below the price is ignored.
Automatic Amount off items discounts with no minimum do the same on their own. When an item has both, the higher of the two is shown. Items with a compare-at price also qualify for the Offers dynamic category.
#Customizations
Customizations are option groups on an item: Size, Spice level, Extras.
- Single choice groups let the customer pick one option.
- Multiple allowed groups let them pick several.
- Options can add to the price, and that amount can differ per branch like the base price.
Mark a group Required when the kitchen cannot cook without an answer.
#Availability
Two separate switches, often confused.
Published is the permanent one. An unpublished item is invisible everywhere.
Unavailable until is the temporary one. Pick the branches it applies to, a time up to 30 days out, and a reason: Sold out, Out of ingredients, Equipment issue, or Other. The item greys out at those branches until the time passes, and the other branches keep selling it. The item list shows which branches are affected, with Restore to bring it back early.
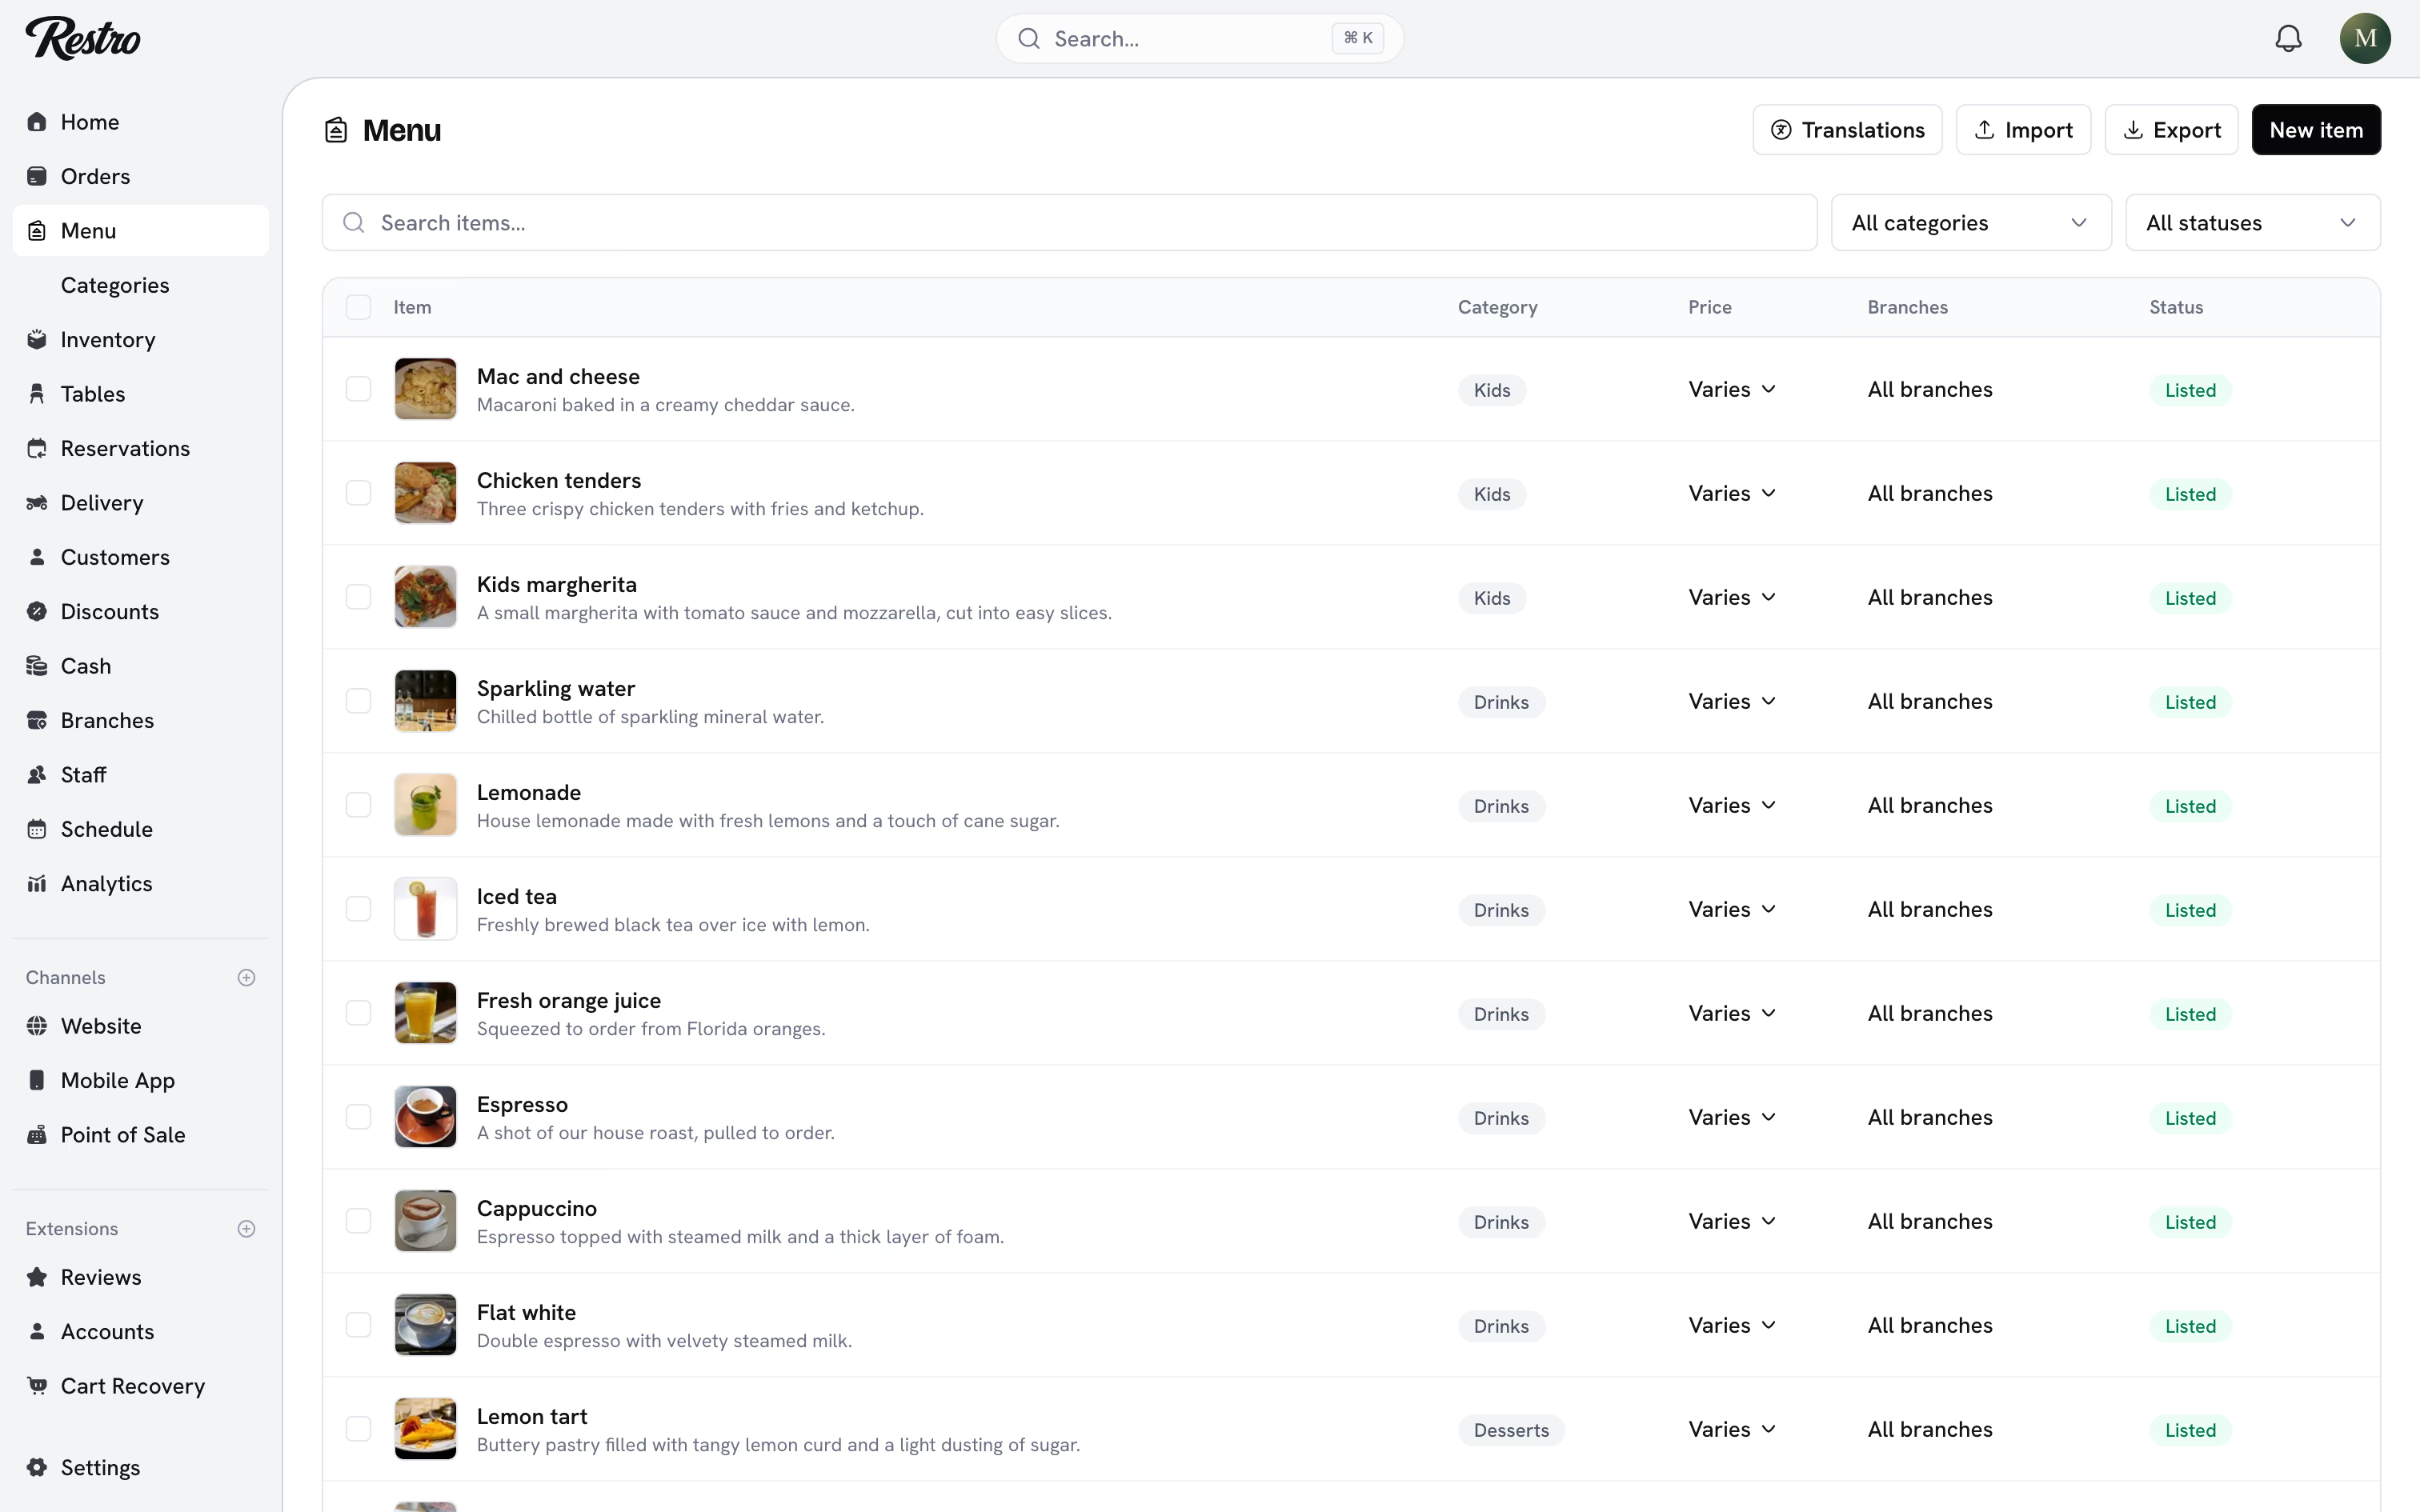
There is also Mark unavailable when ingredients run out. Turn it on and Restro hides the item when its recipe ingredients drop below what one serving needs. See When items appear and disappear.
#Importing a spreadsheet
Menu → Import. Upload a CSV with columns such as title, description, category, price, labels, and published. Restro previews exactly what the import will do and lists the rows it skipped for having no title or price. Nothing changes until you confirm.
Did this page miss something? Tell us.
Back to top