Creating your account
Sign in with Google, Microsoft, Facebook, or an emailed link, then set up your restaurant in six short steps.
Restro has no passwords. You sign in with Google, Microsoft, or Facebook, or with a link sent to your email. Setting up your first restaurant takes a few minutes.
#Signing in
Pick Google, Microsoft, or Facebook on the sign-in screen and approve the prompt. If you already have a Restro account on that email address, you land in your existing dashboard rather than a second account. If the provider cannot share a verified email address, sign in with your email instead.
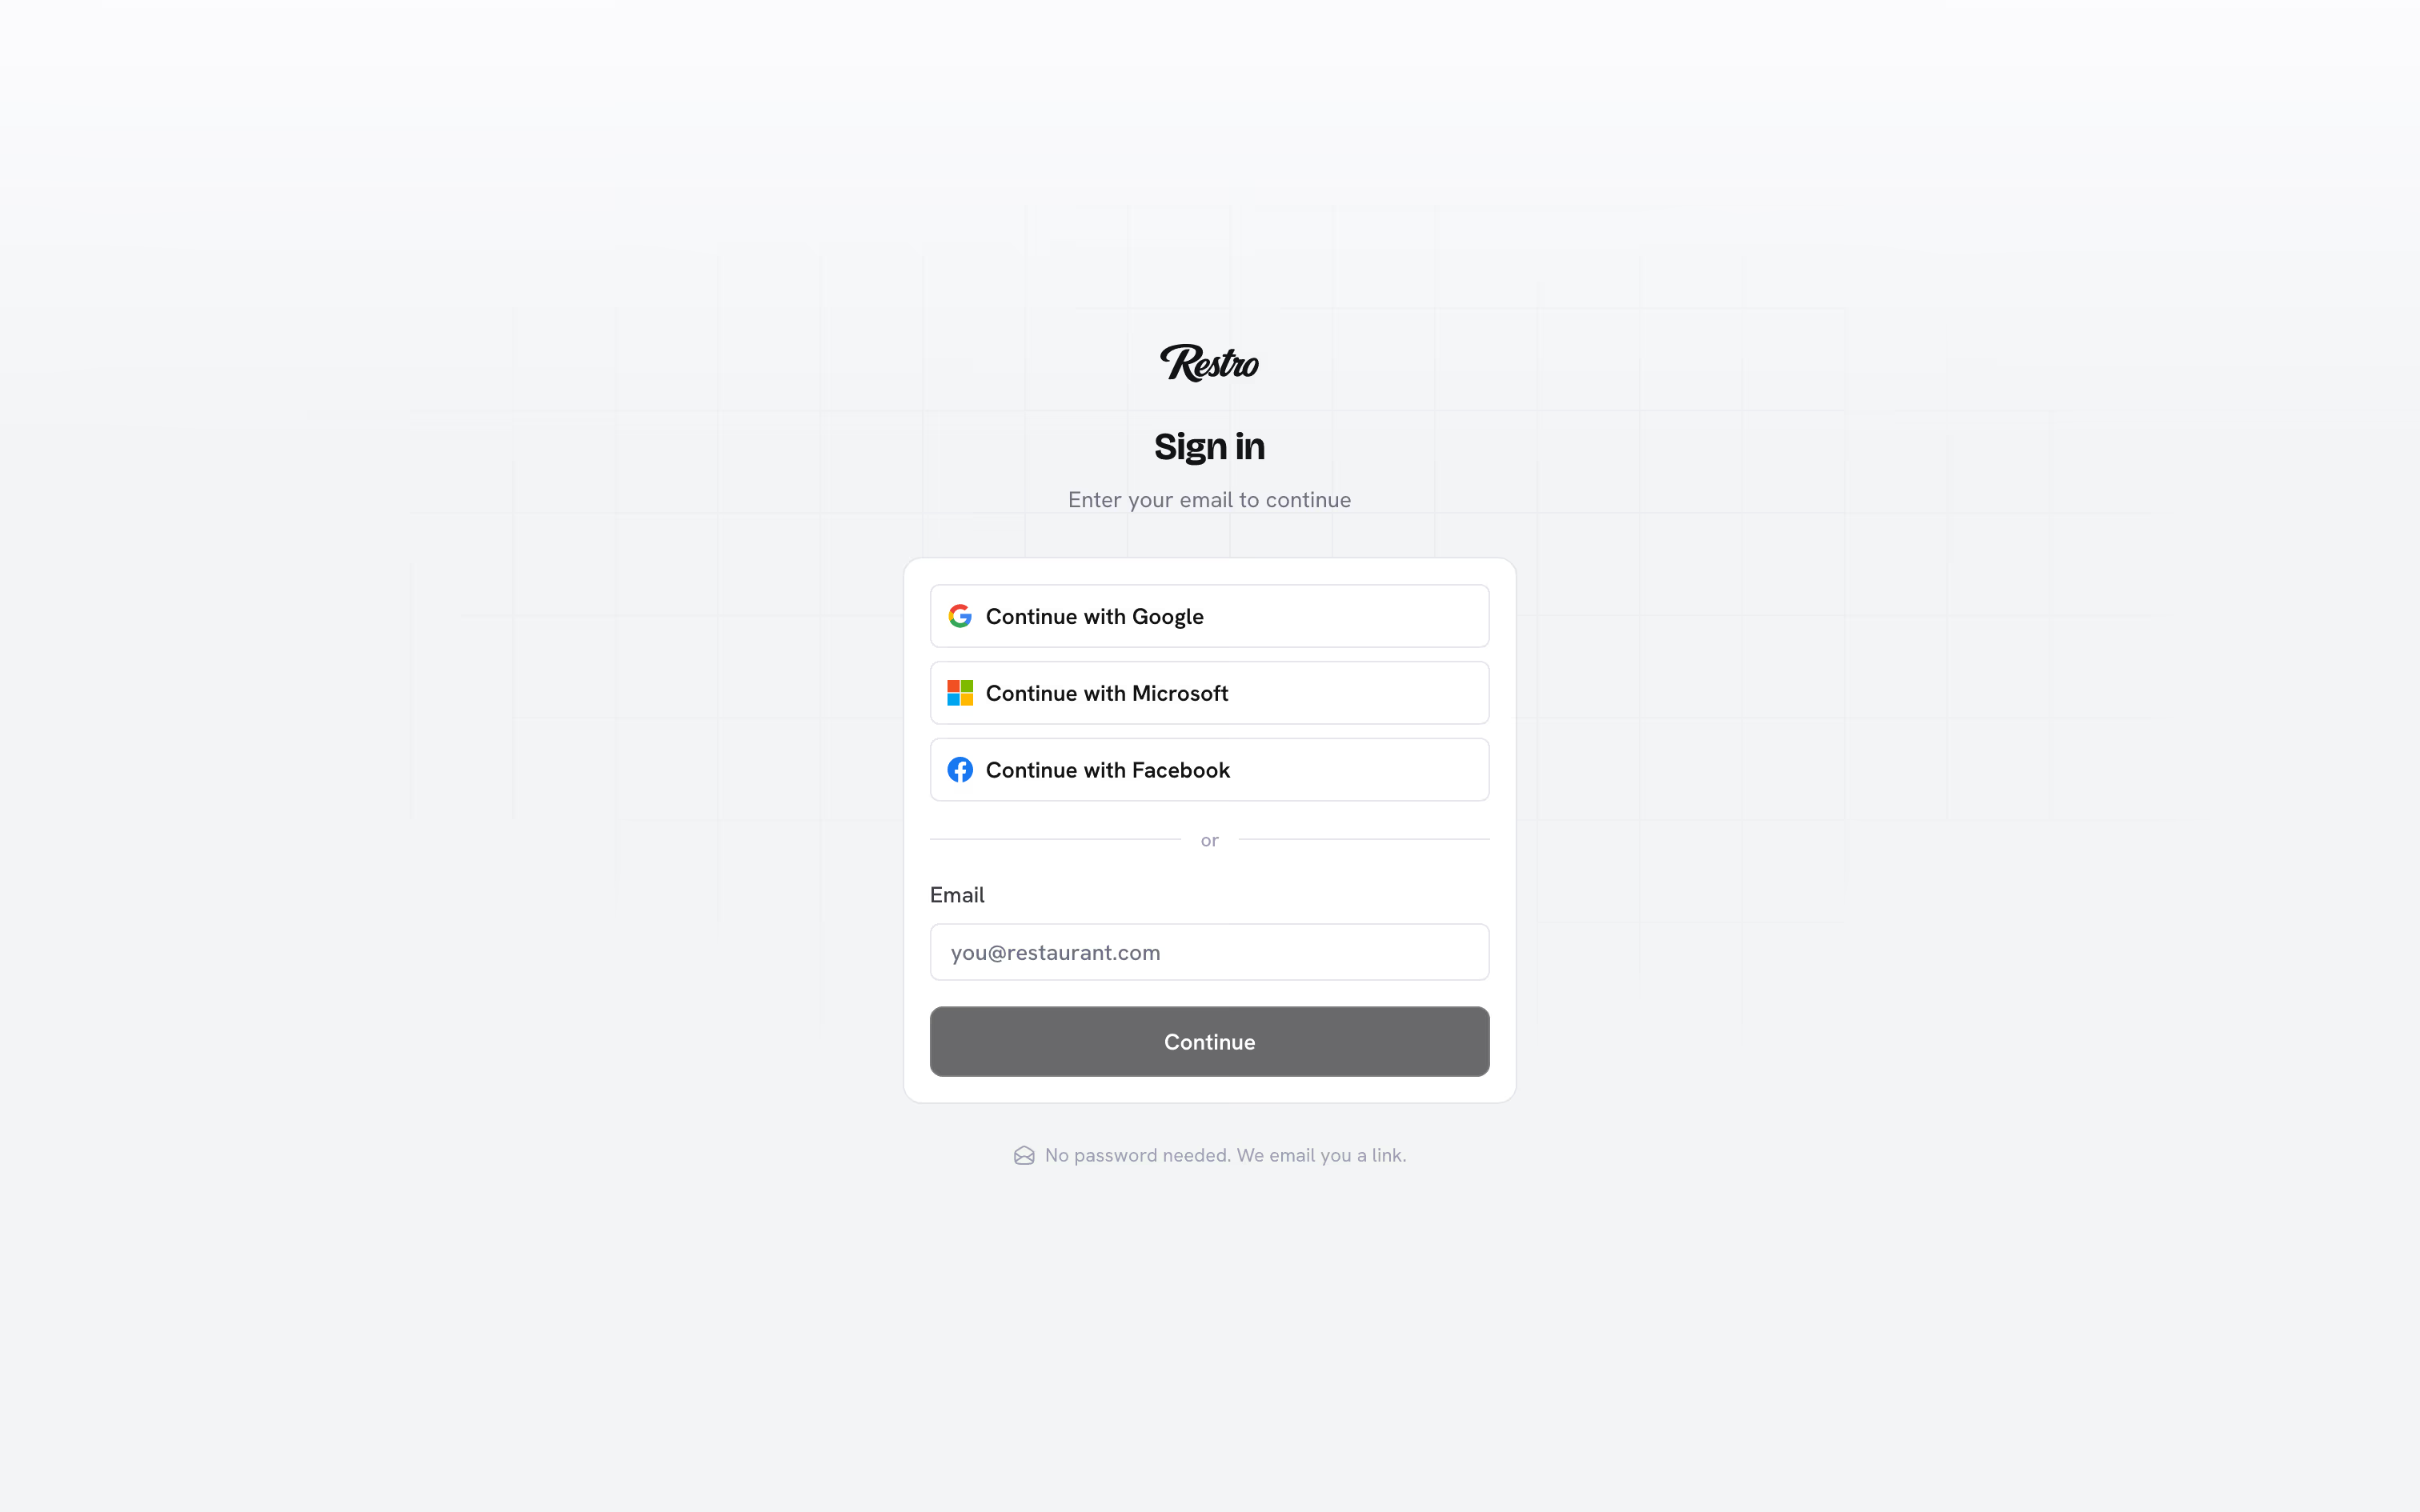
To sign in by email, enter your work address and open the link Restro sends you. Two rules apply:
- The link works once and expires. If you see Link expired, request a new one with Resend. Nothing is broken.
- Open it on the device you want signed in. Opening the link on your phone signs in your phone, not the tablet on the counter.
If your restaurant requires two-factor authentication, you also enter a code from your authenticator app. Owners and admins turn this on under Settings → Security.
#Joining a restaurant you were invited to
Use the link in the invitation email rather than signing in cold. It connects your account to that restaurant with the role you were given.
The invitation only works for the email address it was sent to. Signing in with a different address shows Wrong account. Invitations expire, so ask for a new one if yours has.
#Setting up a restaurant
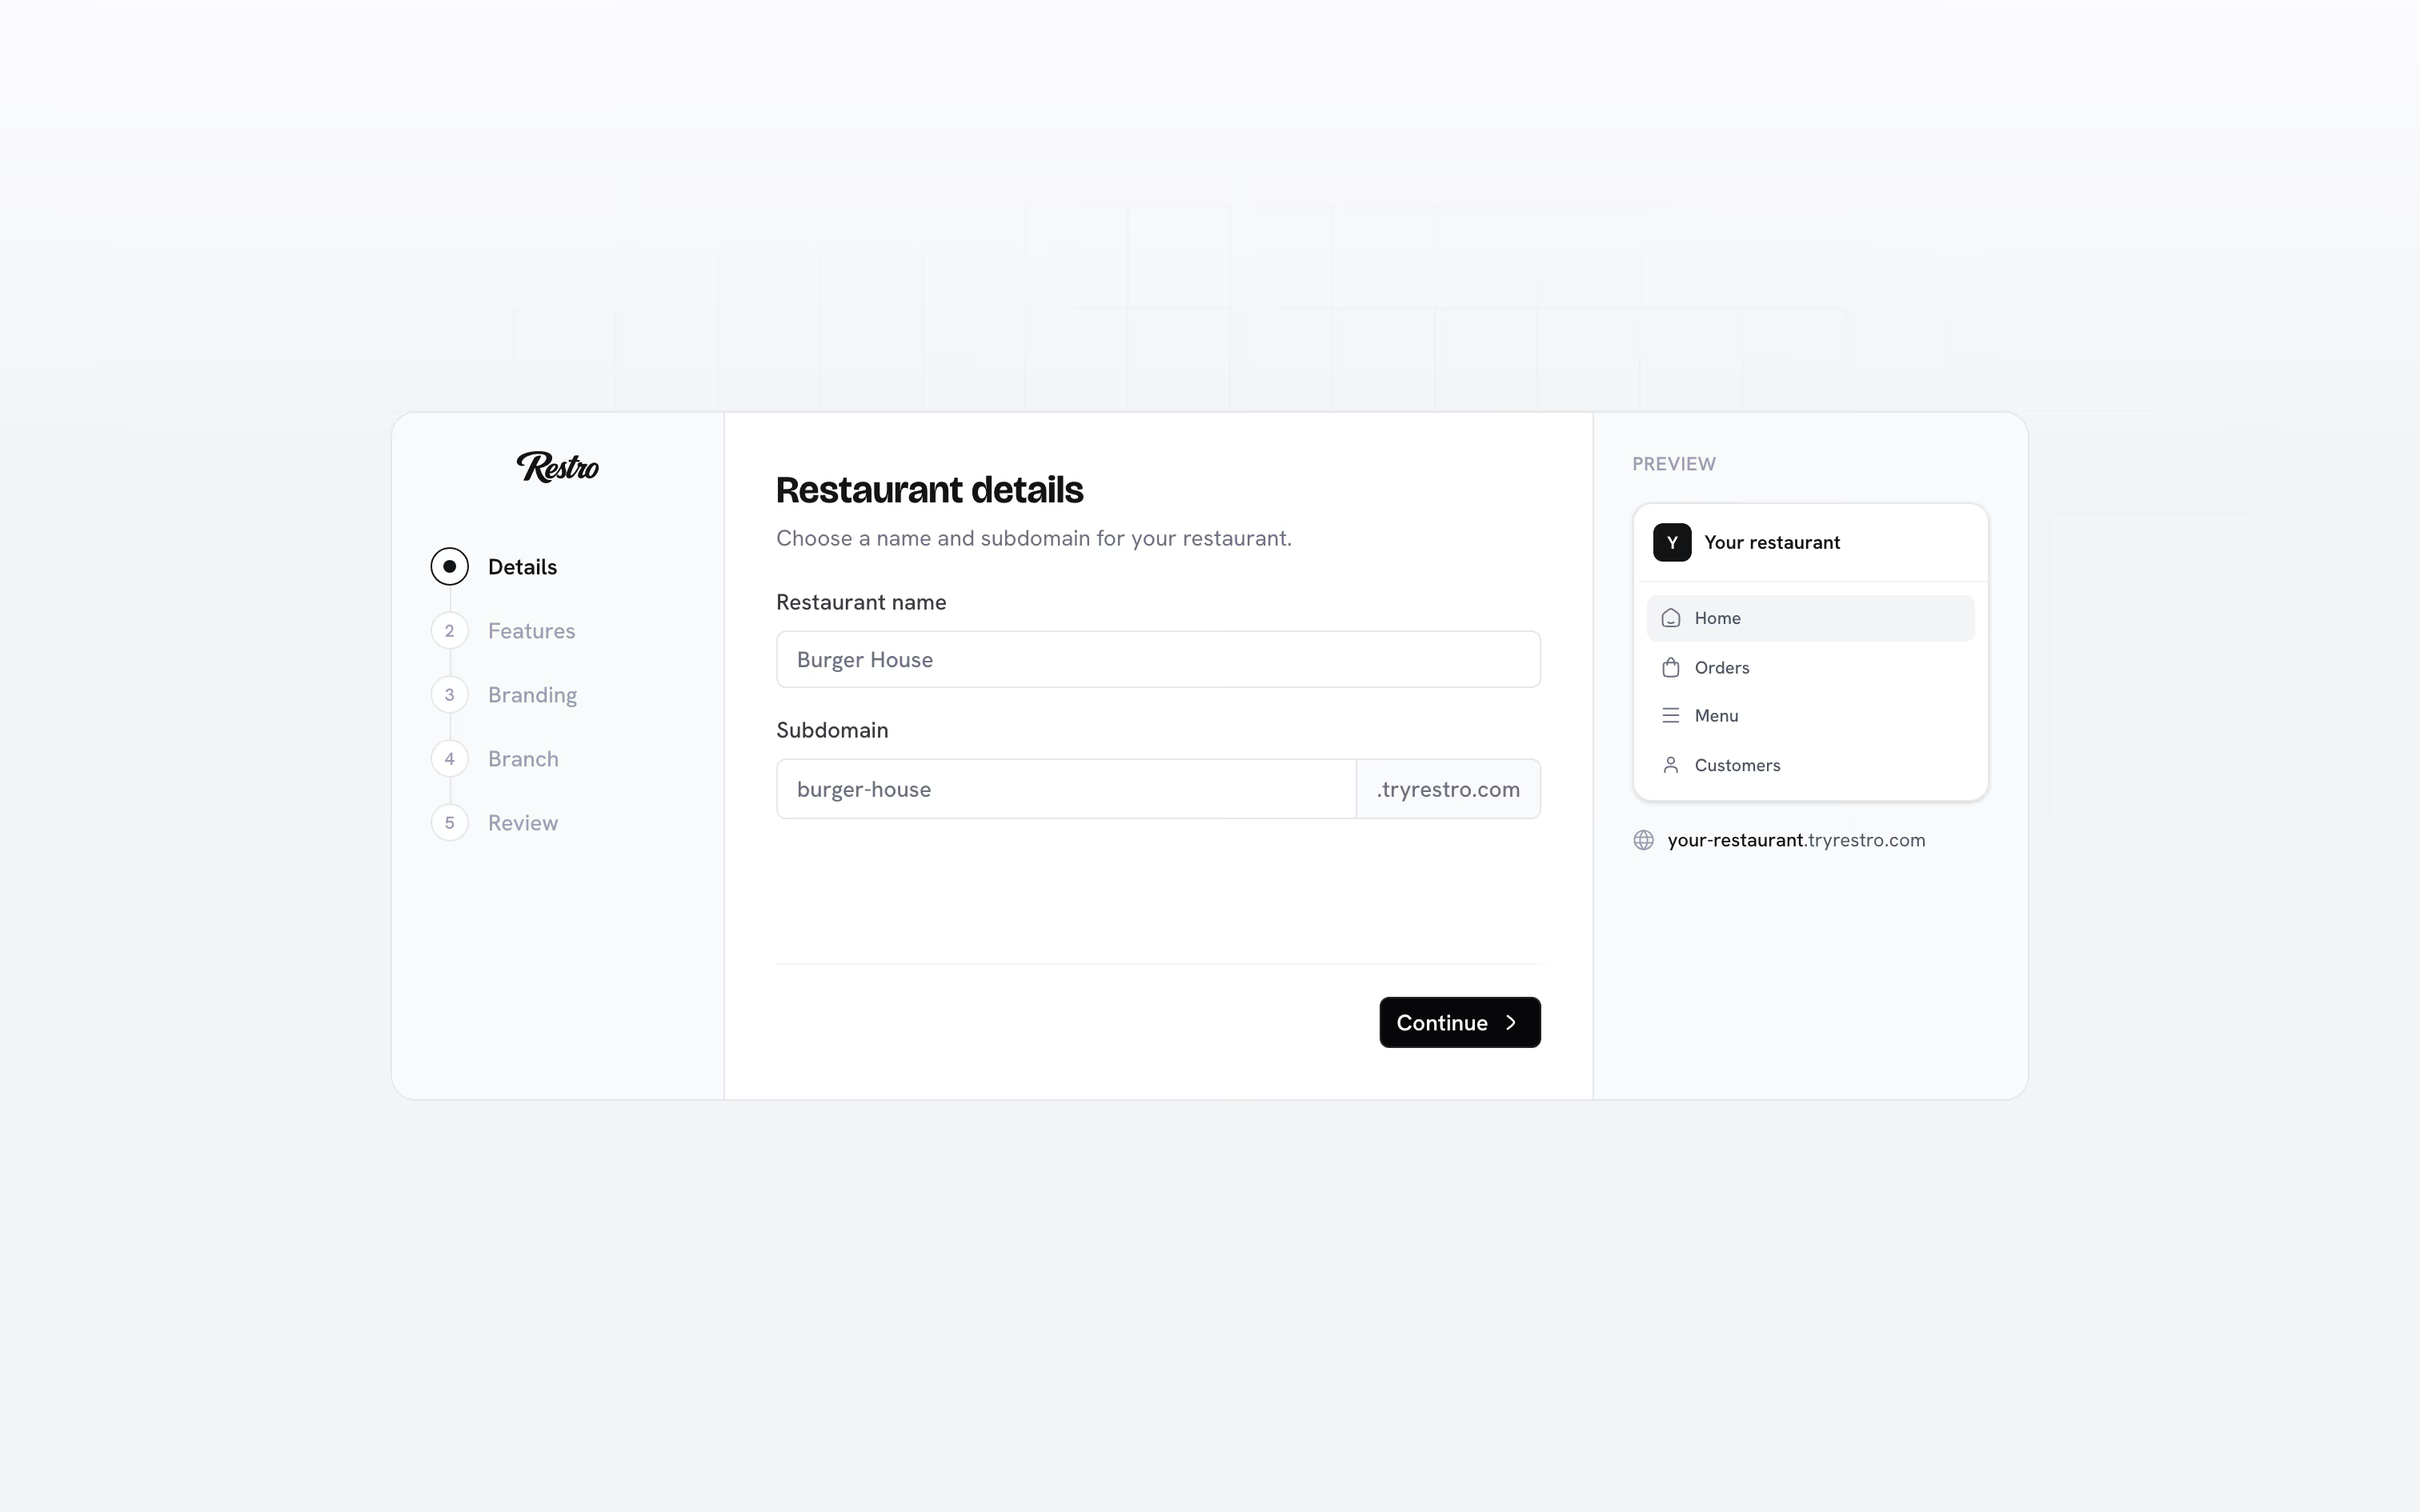
The first time you create a restaurant, Restro walks you through six steps. The list on the left tracks where you are, and the preview on the right updates as you type.
- Your profile. Your name, as your team sees it on orders, shifts, and the activity log.
- Restaurant details. The restaurant name and a subdomain. The subdomain becomes your web address, such as
sageandsalt.tryrestro.com. Restro suggests one from the name. Use lowercase letters, numbers, and hyphens, three to fifty characters. - What will you use? Tick the parts of Restro you need: delivery, tables, reservations, inventory, cash management, and schedules. Orders, menu, customers, discounts, branches, staff, and analytics are always included. You can change this later under Settings → Features.
- Logo. Optional. It appears on your website, receipts, and customer emails. Settings → General takes it later too.
- First branch. A name and a pin on the map, or Set up later. The location sets the branch's timezone and currency. Restro also uses it to find the nearest branch for a customer and to draw delivery zones.
- Review. A last look before the restaurant is created.
Tip
Add the branch now if you can. Prices, opening hours, and stock all attach to a branch, so the dashboard stays quiet until you have one.
You land in the dashboard with a restaurant and one branch. Continue with Your first hour.
#Running more than one restaurant
If you belong to more than one restaurant, signing in shows Your restaurants, listing each one with your role. Create restaurant starts the setup steps again.
Separate restaurants keep separate menus, staff, and reports. For a second location of the same business, add a branch instead. See How Restro fits together.
Did this page miss something? Tell us.
Back to top