Notifications
Choose which alerts you receive in the dashboard, mute a branch, and see what customers get by email and push.
Settings → Notifications covers two things: the alerts you receive while working in the dashboard, and the emails and push notifications your customers receive.
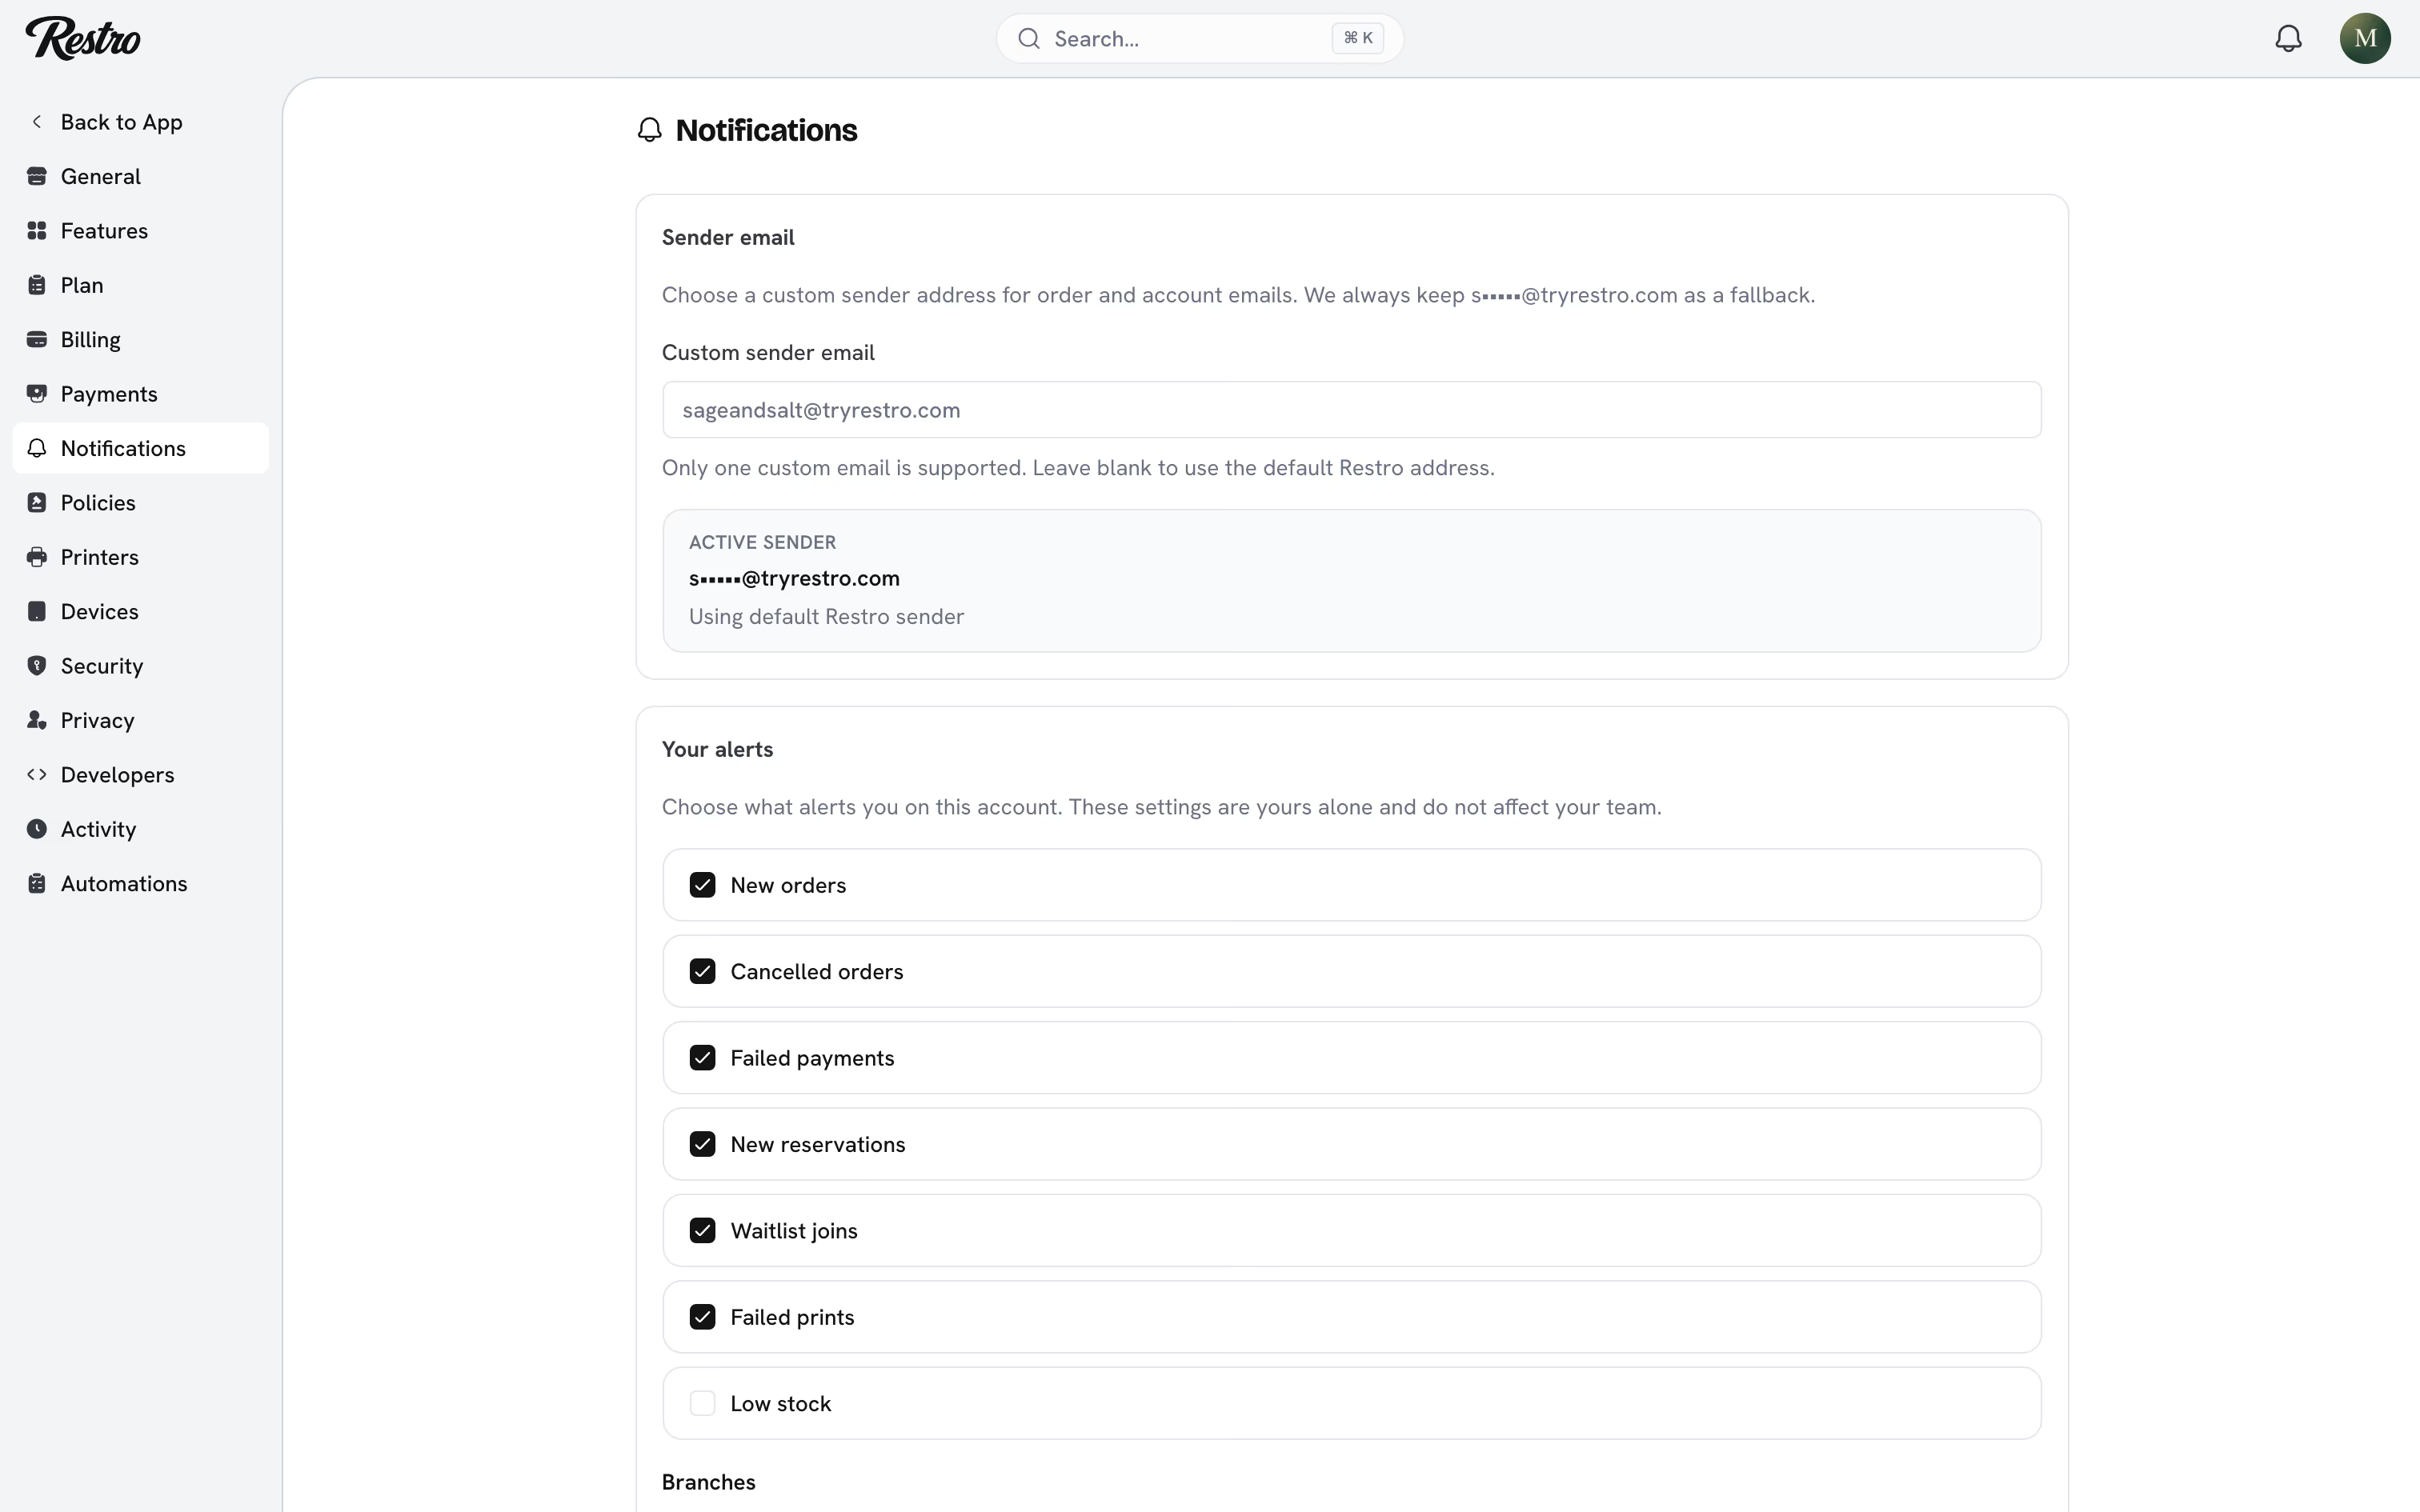
#Your alerts
Under Your alerts, tick the events you want to hear about: New orders, Cancelled orders, Failed payments, New reservations, Waitlist joins, Failed prints and Low stock. These choices are yours alone and do not affect your team. You only see the events your role can see.
When one arrives, a small card appears at the bottom of the screen with the order number, channel, table or delivery address, and total. Click it to open the order. The bell in the top bar keeps the last thirty, and the red count clears when you open the list.
#Sound
Play a sound adds a short chime to every alert. It starts off, and you turn it on from this page. Browsers only allow sound after you click, so it cannot be switched on for you.
The setting is per device. Turn it on once on the kitchen tablet and once on your laptop. A device you never enabled stays silent.
#Browser notifications
Browser notifications show alerts on your desktop when the dashboard is in a background tab or on another screen. Turning it on asks your browser for permission.
If you dismissed that prompt earlier, allow notifications for the site in your browser settings, then turn the switch on again here.
#Muting a branch
Every branch you can see is listed under Branches with a switch showing Alerting or Muted. Mute one and its alerts stop reaching you while the rest keep coming. Nobody else's alerts change.
Muting is right when you cover SoHo but can see all three branches. To stop a whole category instead, untick the event.
#What customers receive
- Order confirmation when an order is placed or paid.
- Order status updates, such as Out for delivery.
- Review requests when an order completes, if the Reviews extension is on.
- Sign-in links and one-time codes, if the Accounts extension is on.
Email goes to every customer who gave you an address. Push notifications go to customers who installed your mobile app and allowed notifications. There is nothing to switch on. Push starts working as soon as a customer installs the app. Customers choose what they receive under Account → Notifications in the app.
Order updates and marketing are separate consents. A customer who turned off promotions still hears about their order.
#Sending from your own domain
By default, email comes from a Restro address. To send from your own, such as orders@sageandsalt.com, enter it under Sender email and click Authenticate DNS. Add the DNS records shown at your domain provider, then click Check DNS.
The status shows Pending, Verified or Failed. Until it verifies, email keeps going out from the default Restro sender rather than failing.
Tip
Sending from your own domain is the difference between a confirmation landing in the inbox and landing in spam.
Did this page miss something? Tell us.
Back to top