Terminal hardware
Connect a receipt printer, cash drawer, barcode scanner, and customer-facing screen to a till running the desktop app.
The desktop app for macOS and Windows drives the hardware on the counter: a receipt printer plugged into the till, the cash drawer hanging off it, a barcode scanner, and a second screen facing the customer.
Everything on this page is set up on the terminal itself, under Account → Hardware, because the printer under one till is not the printer under the next. Printers shared across a branch over the network are set up in the dashboard under Settings → Printers.
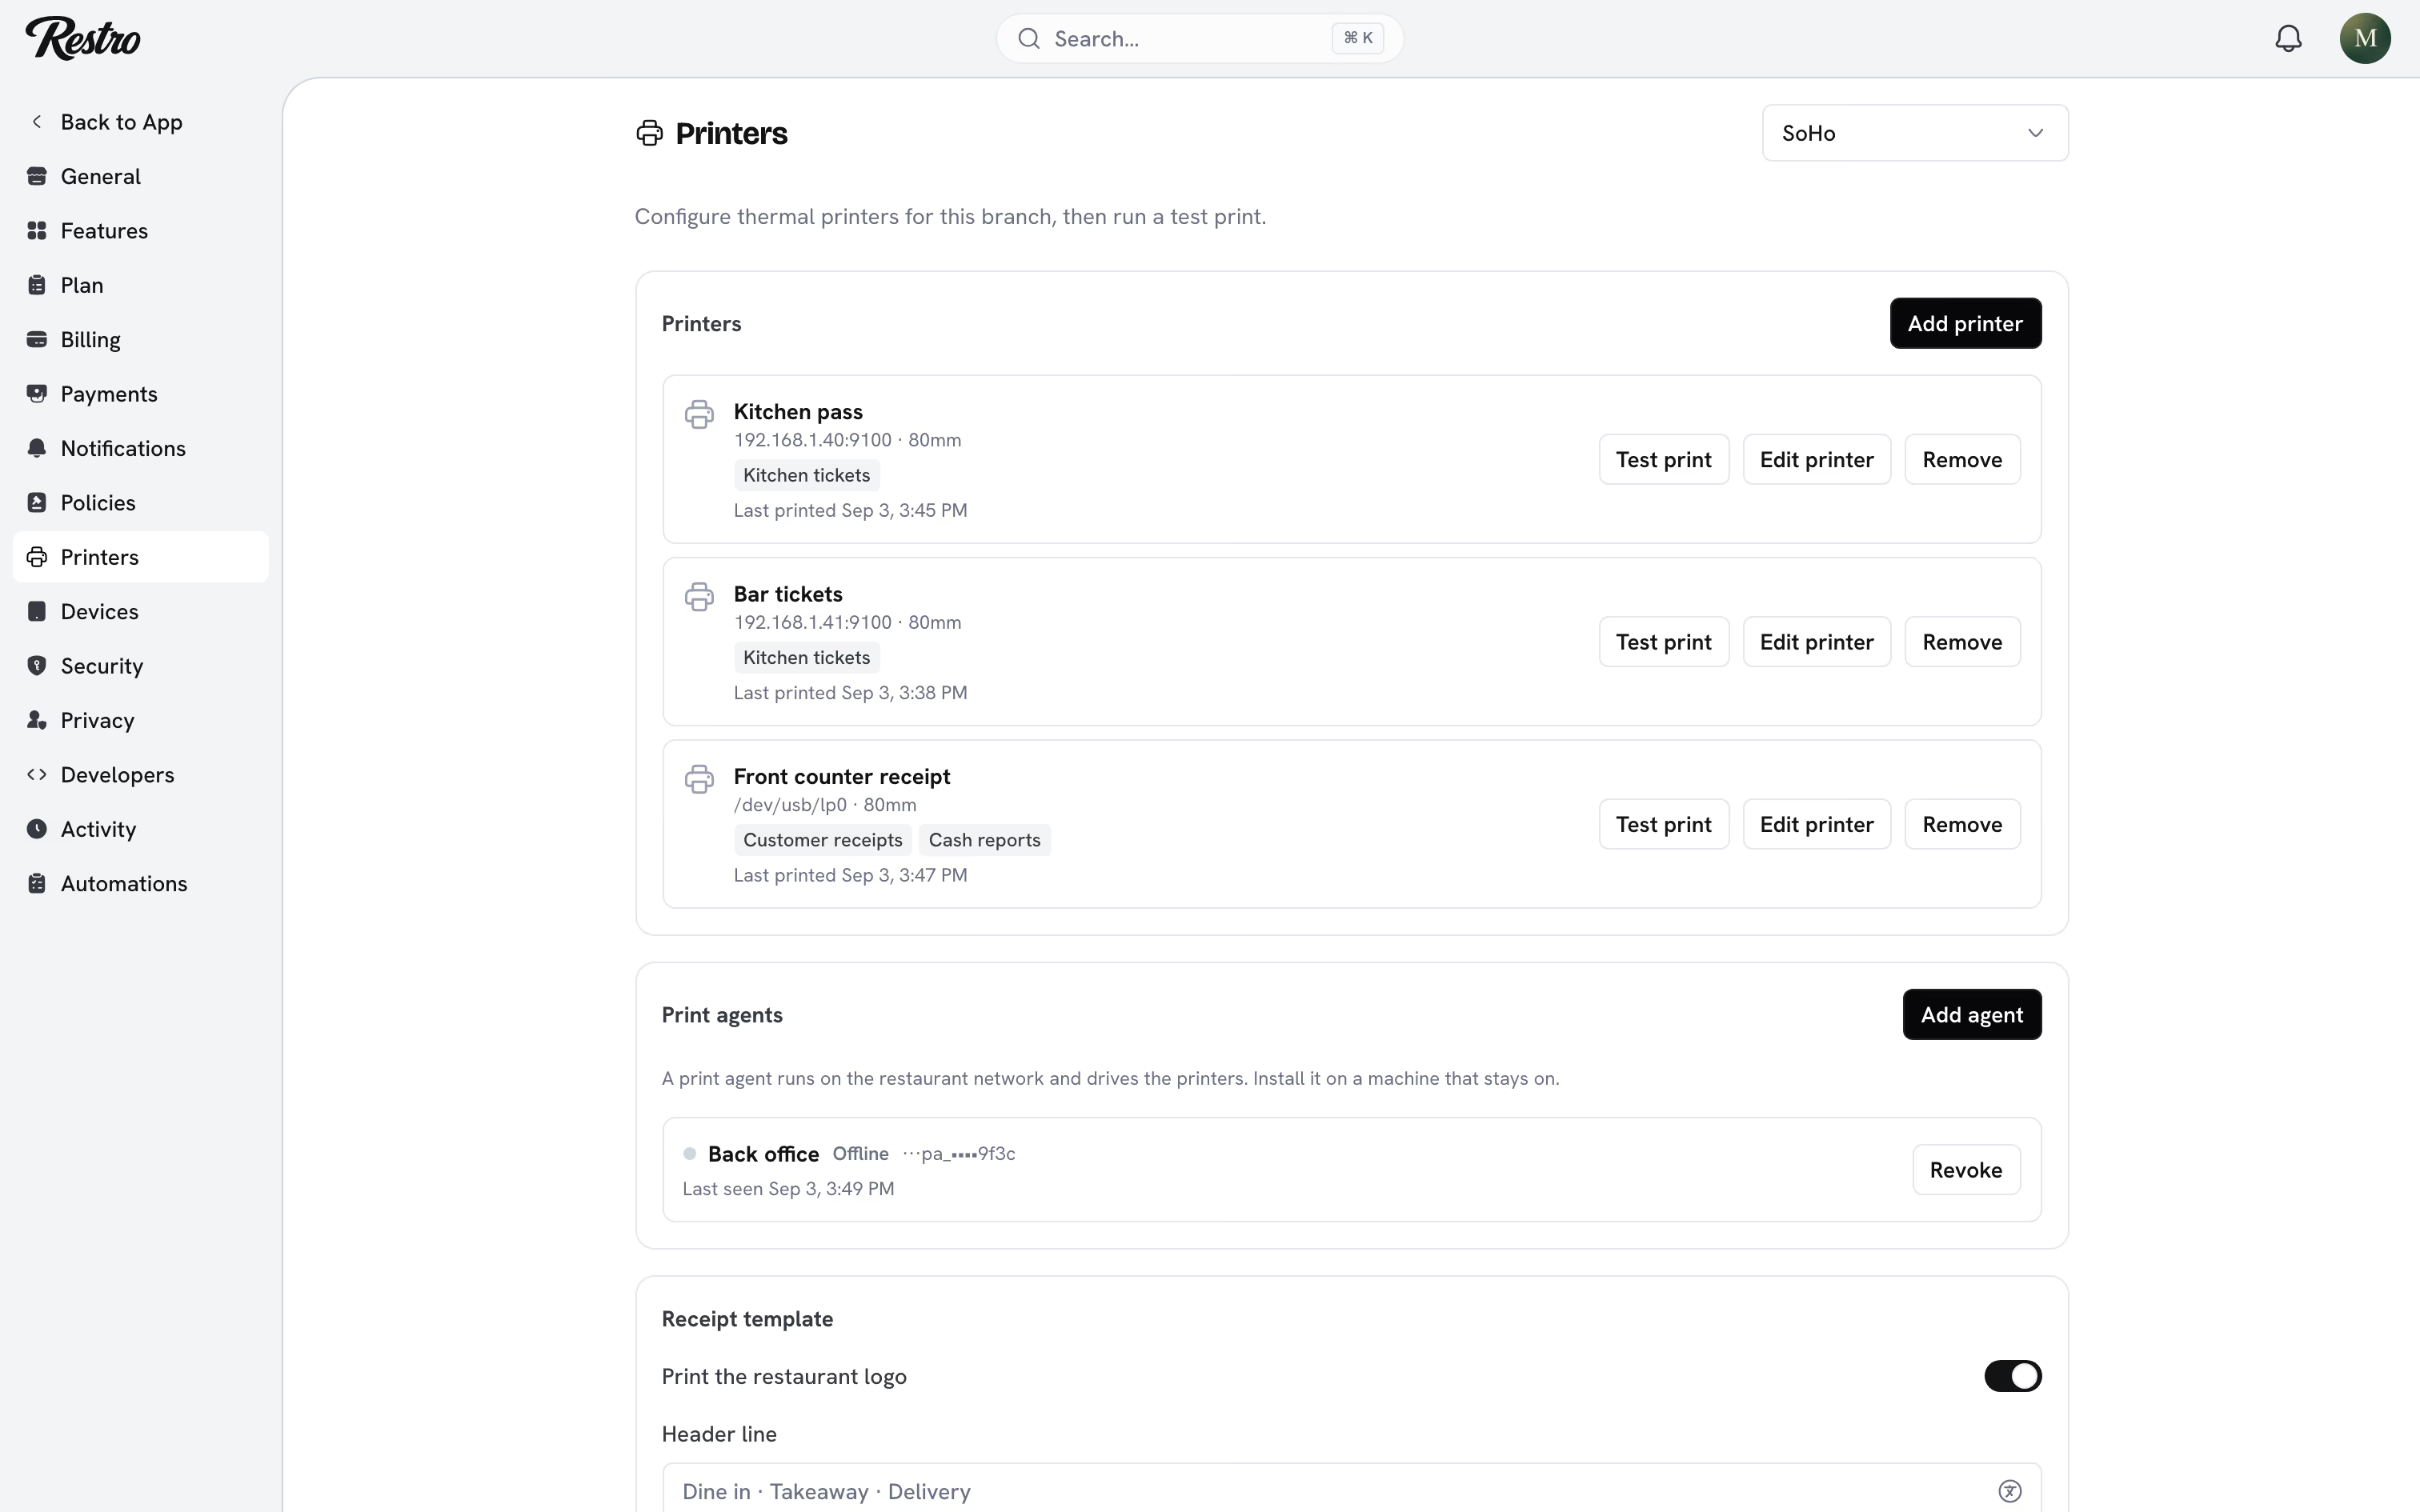
#Connecting a printer
Pick how the printer is attached:
| Connection | When to use it |
|---|---|
| Serial | A USB or serial printer plugged into this till. Choose Scan again to list the ports. |
| Network | A printer with its own address on the network. Give it a fixed address so it does not move. |
| Device | A printer path on the machine, such as a shared printer on Windows. |
Set the Paper width, choose the Code page your printer expects, and use Test print to confirm it. Check paper asks the printer how it is doing without printing anything. Use it before a rush: it is the fastest way to tell an empty roll from an open cover or a dead cable.
#The cash drawer
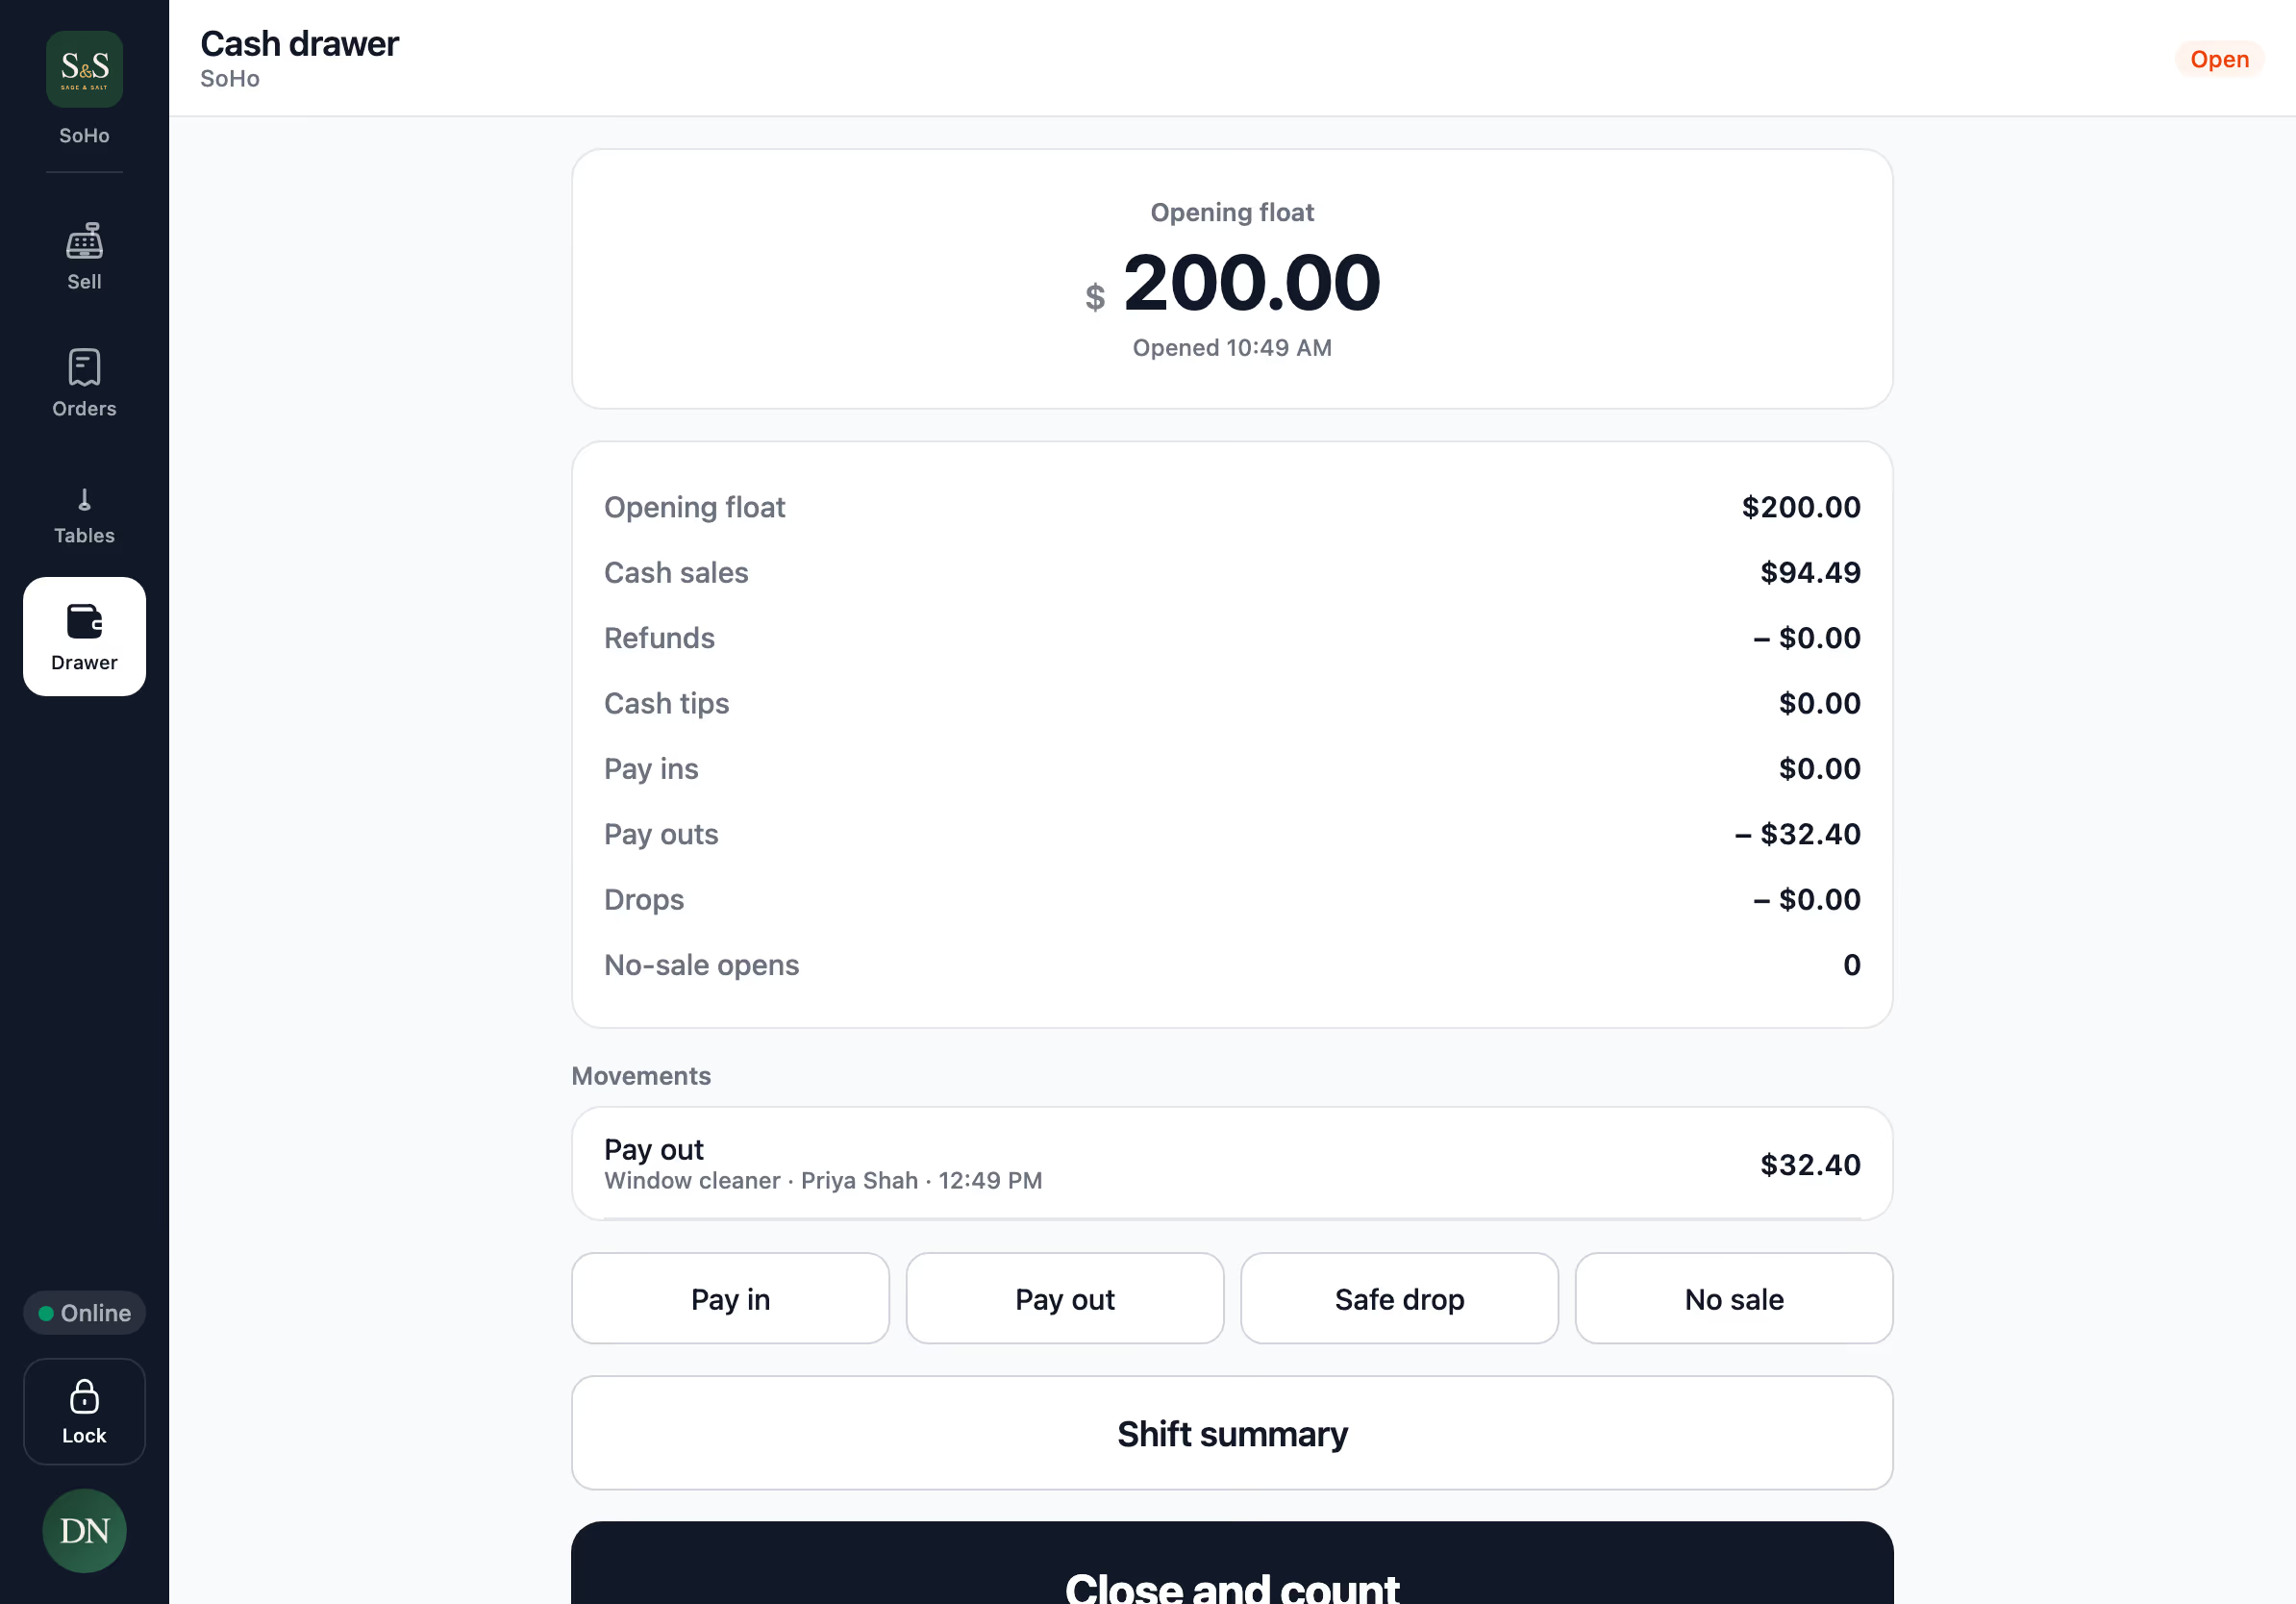
On almost all hardware the drawer opens on a signal sent through the printer, so plug the drawer cable into the printer, not the computer. Turn on Open the drawer on a cash receipt and it opens as the receipt prints, on cash sales only, so a card sale never pops the drawer.
Open drawer in hardware settings tests it. No sale on the Drawer screen opens it without a sale, for a reason a manager approves, and records it in the shift report.
#When printing fails
The terminal checks the printer before it sends a job and tells the cashier what is wrong: out of paper, cover open, not answering, or not set up at all. Nothing fails silently. Fix it and print again from Orders.
#Barcode scanners
Any scanner that behaves like a keyboard works, with no driver and no pairing. Put the barcode on the item in the dashboard under Menu → the item → Barcode, and a scan on the Sell screen adds that item to the ticket.
Scans are recognized by the app itself, so one never lands in a search box or a notes field by accident. Scanning a code with no matching item says so. Scanning a printed receipt opens that sale in Orders, ready to reprint, void, or refund.
#Screens and kiosk mode
A terminal lists every display attached to it; tap one to move the app there. That is how a kitchen screen picks its monitor and how a till drives a customer-facing display.
Kiosk mode fills the screen and blocks the way out to the desktop, which is what you want on a machine customers can see. Only a manager can leave kiosk mode, and Leave the terminal asks for a manager's PIN before it quits the app.
#The customer-facing display
A counter with a second screen can show customers their order as it is rung up. Choose which screen faces them under Hardware → Customer display. A terminal with one screen leaves it off.
The customer screen shows your branding while the till is idle, then each line as it is added with the running total. At payment it asks for a tip, and the choice lands on the till. After payment it shows the total, any change owed, and asks whether the customer wants a printed receipt.
Keep the screen awake stops the display sleeping mid-service, and Start when the machine boots brings the terminal back on its own after a power cut. If the app ever closes unexpectedly it restarts on the screen it was on, with the order in progress still on the ticket.
#Updates
Terminals update themselves. A new version downloads in the background and installs once the till has been idle for a while, or when a manager chooses Install and restart. Nothing restarts during a dinner rush.
Did this page miss something? Tell us.
Back to top